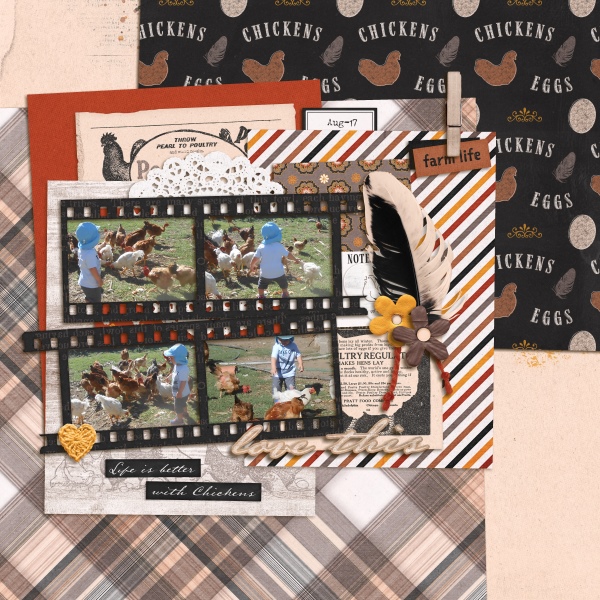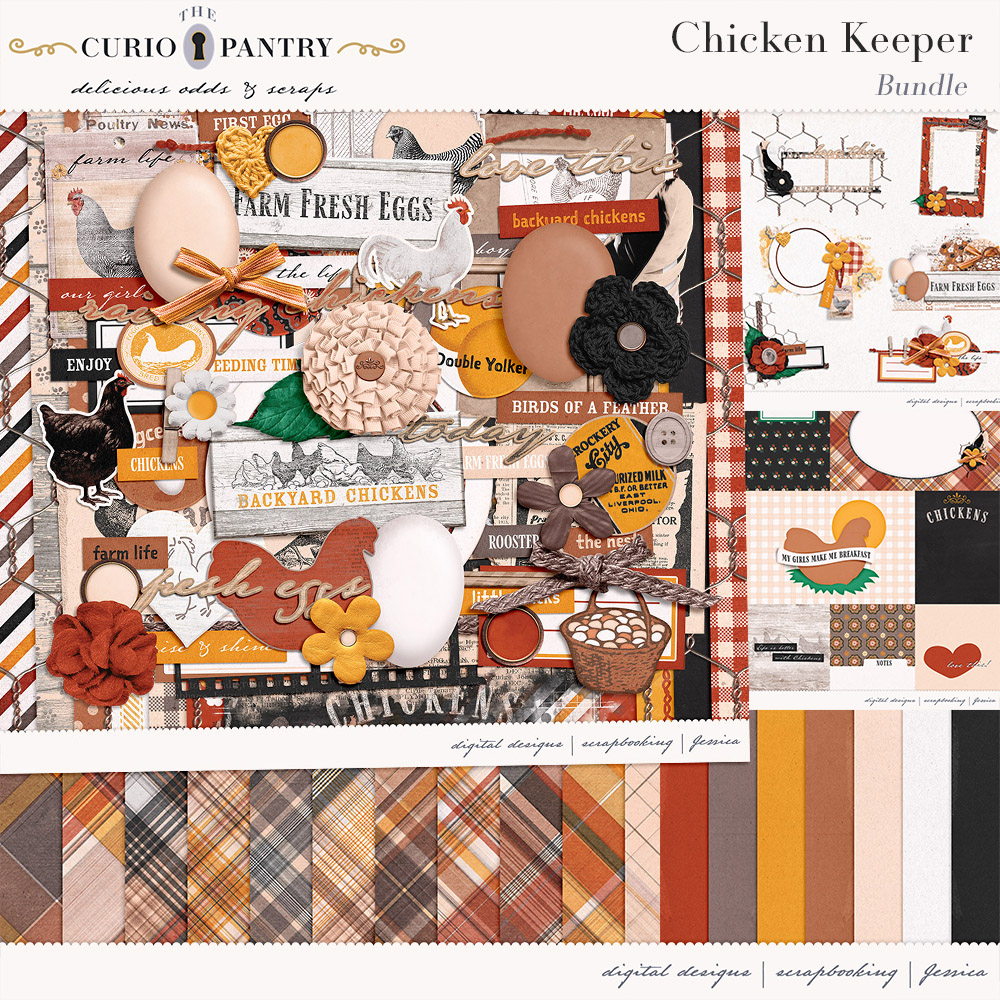
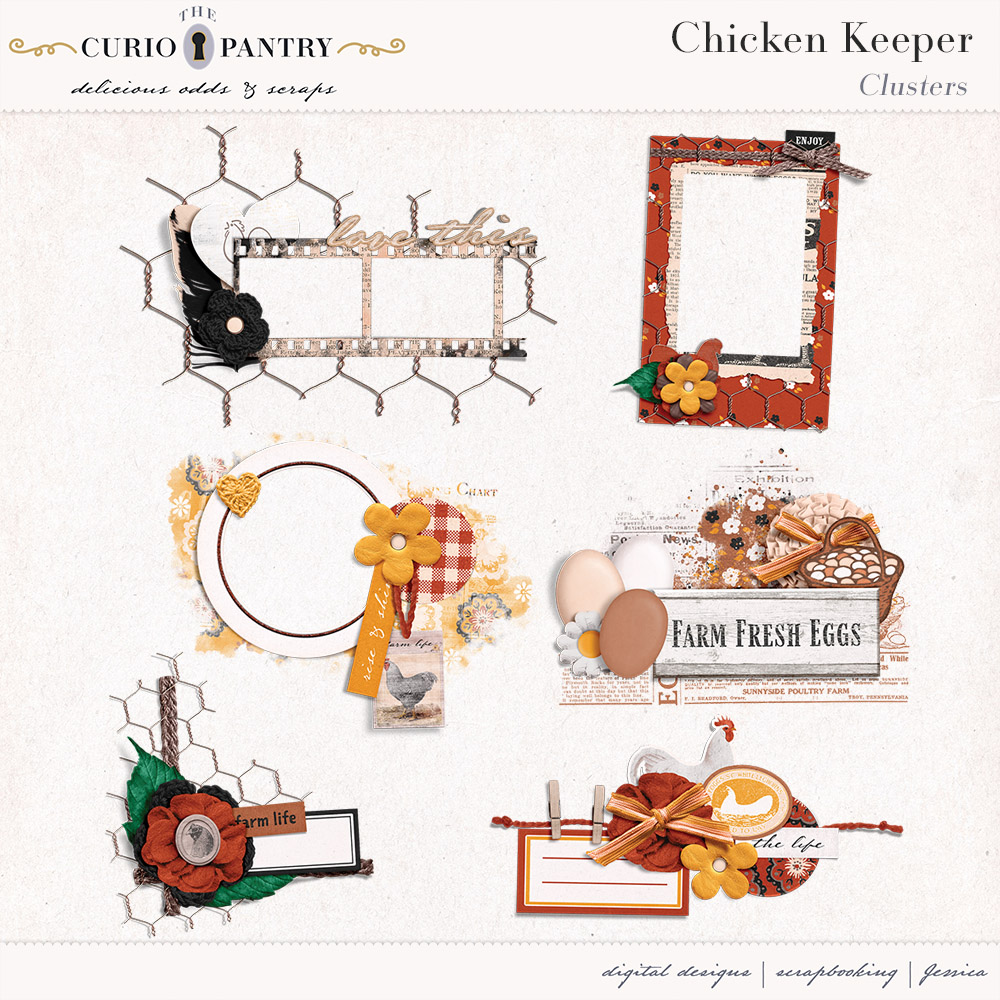
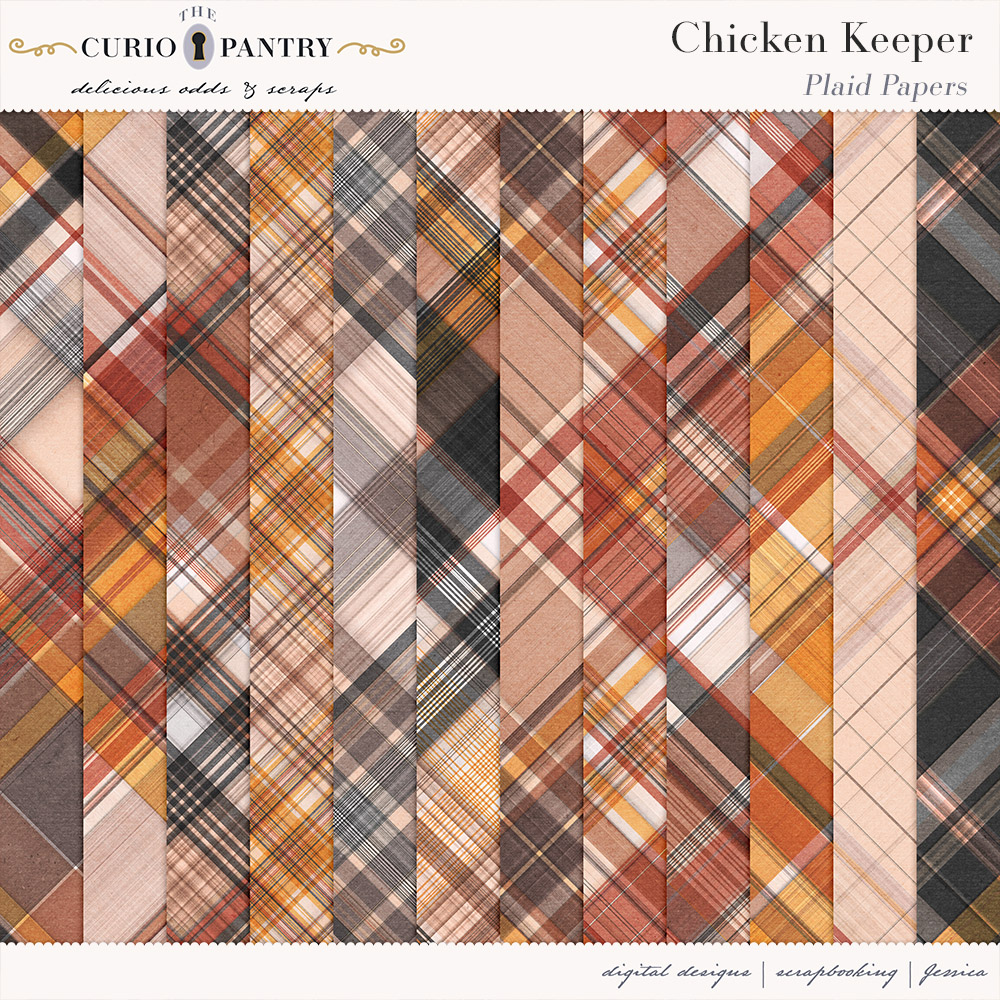
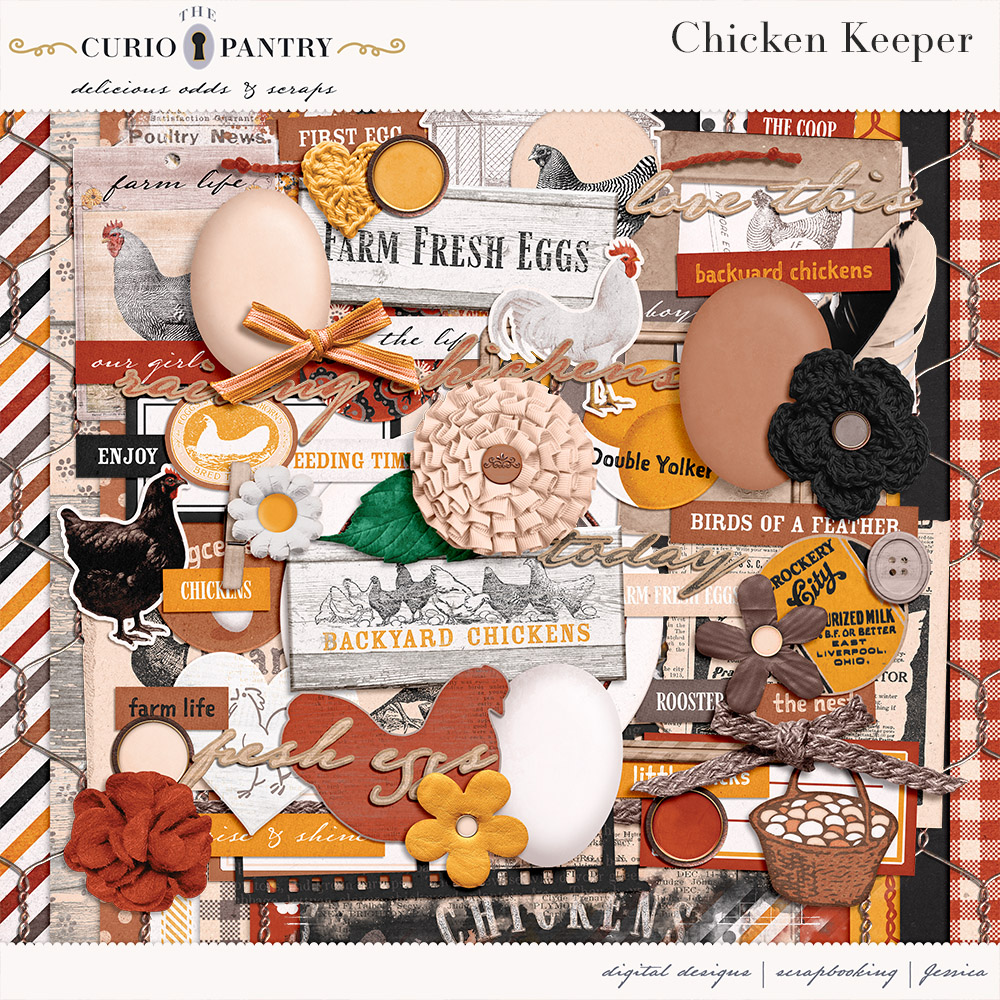
Today I have a new Bundle called Chicken Keeper. For those who keep backyard chickens or just enjoy fresh eggs you should enjoy this farm style bundle!
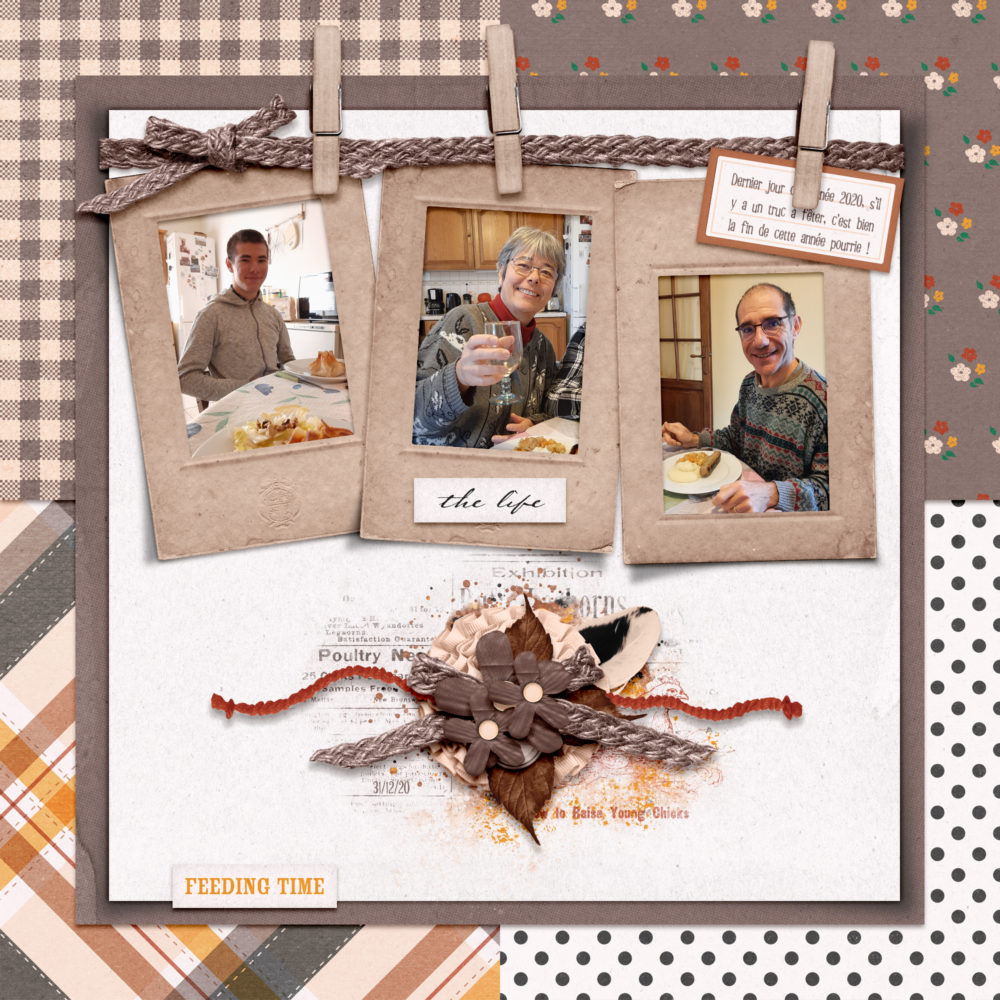
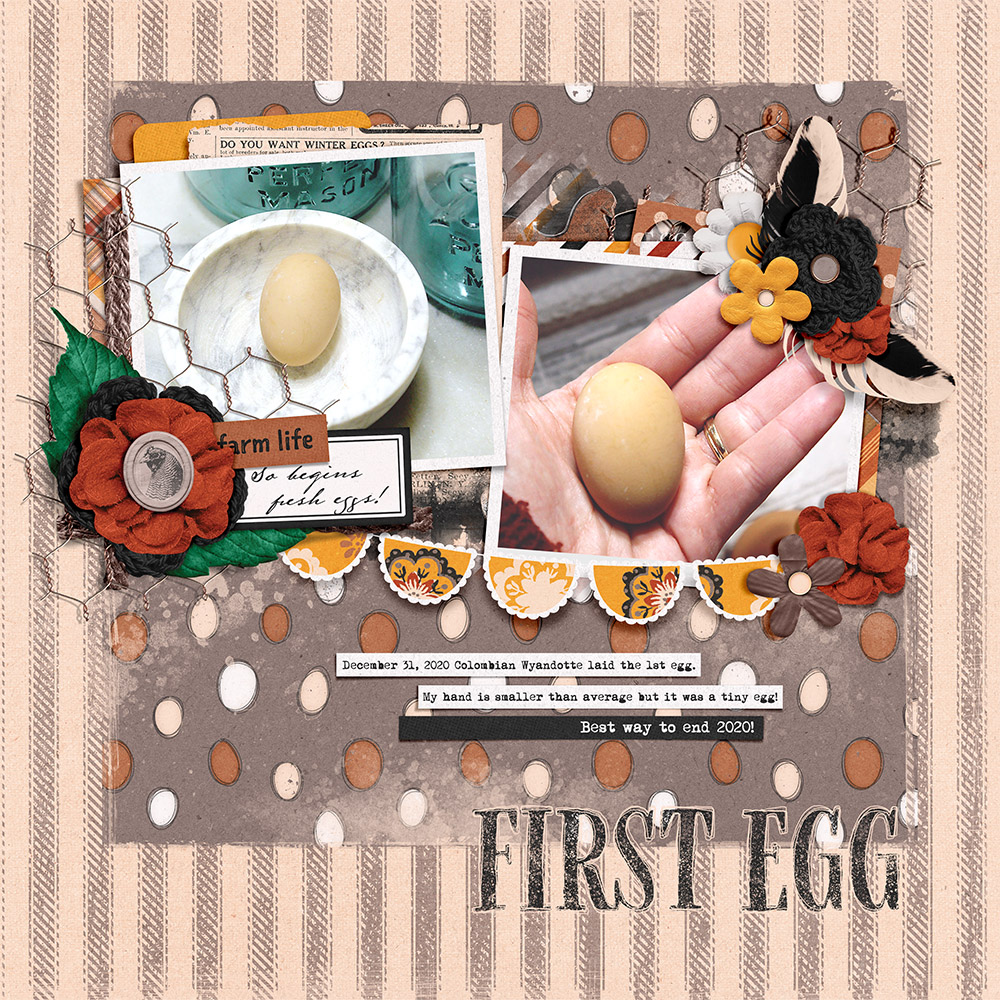
I have always loved keeping chickens and we have done so off & on through the years. But it’s been in the works to get a proper coop, make a pen and keep chickens again. And this past year was the year for it! We now have a nice little flock of chickens who laid us their first egg on December 31st.
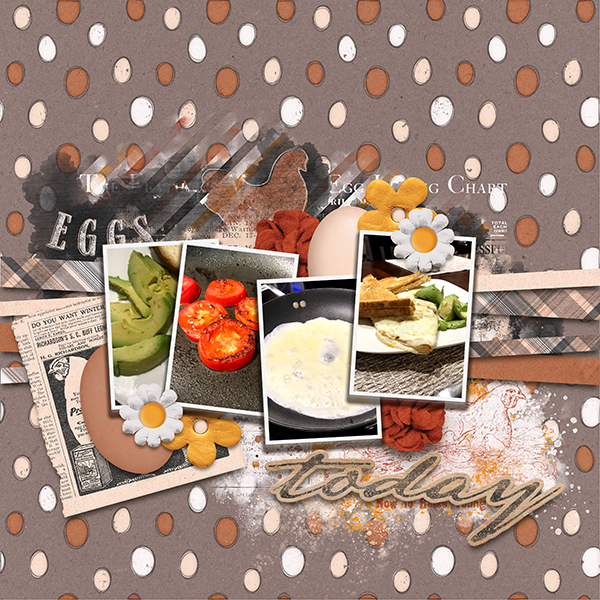
Be sure to keep reading to find the tutorial for the fun Chalky effect I used!

Chalky Text Tutorial
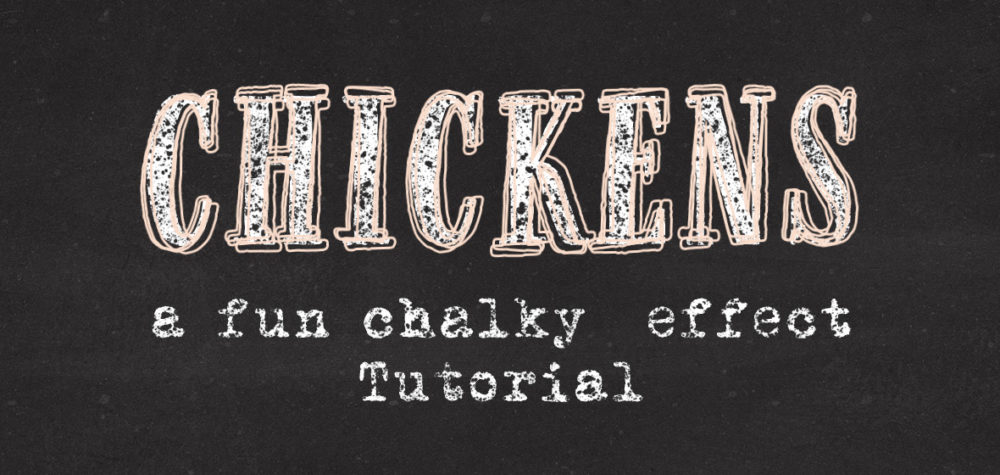
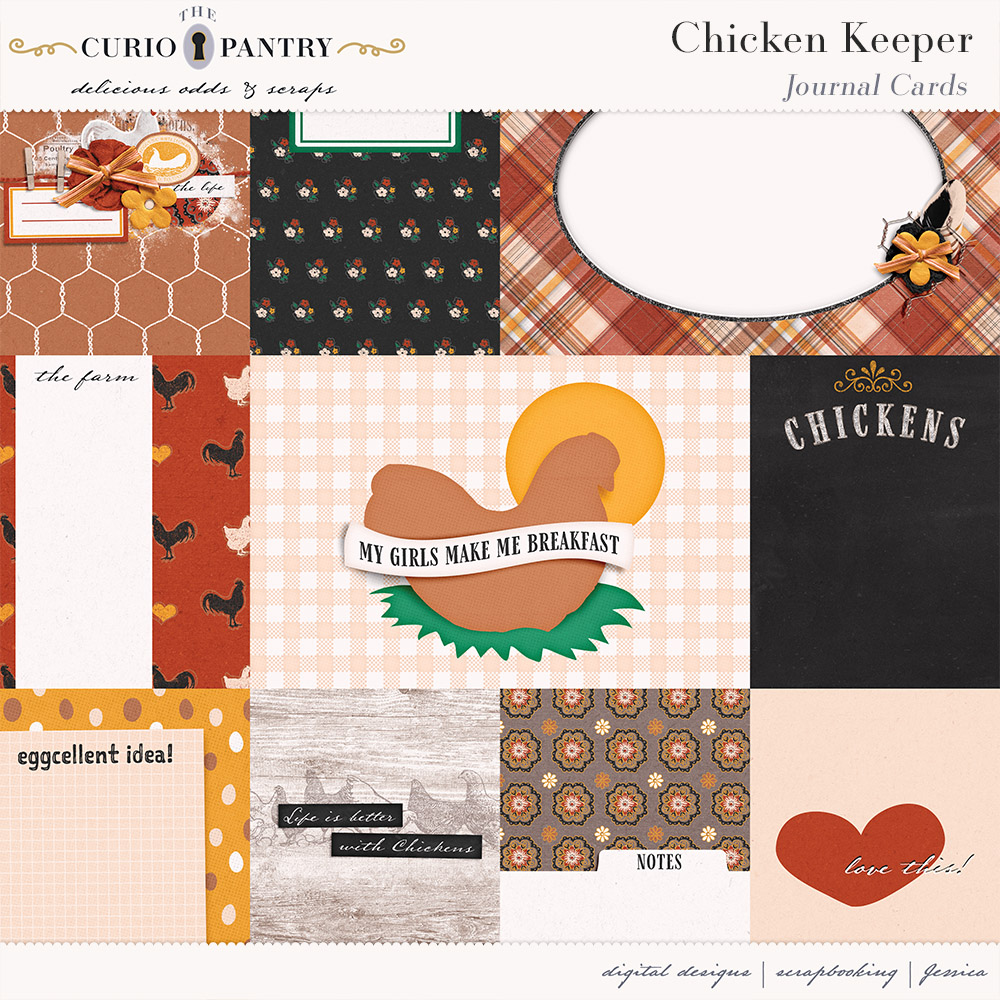
I decided to post a tutorial for the text I used in the kit. You can see examples of it on the Chickens journal card and in some of the papers from the Chicken Keeper bundle. I used Photoshop and these are the materials I used in creating this effect.
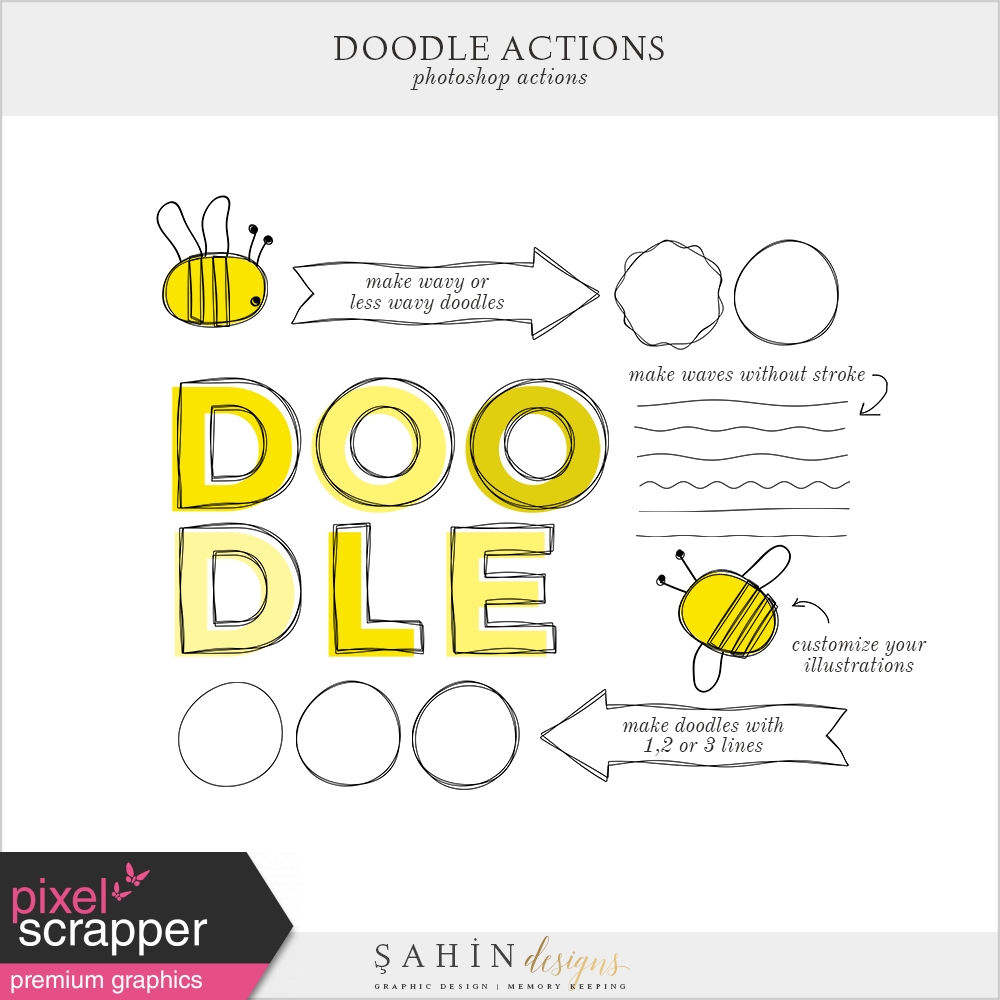
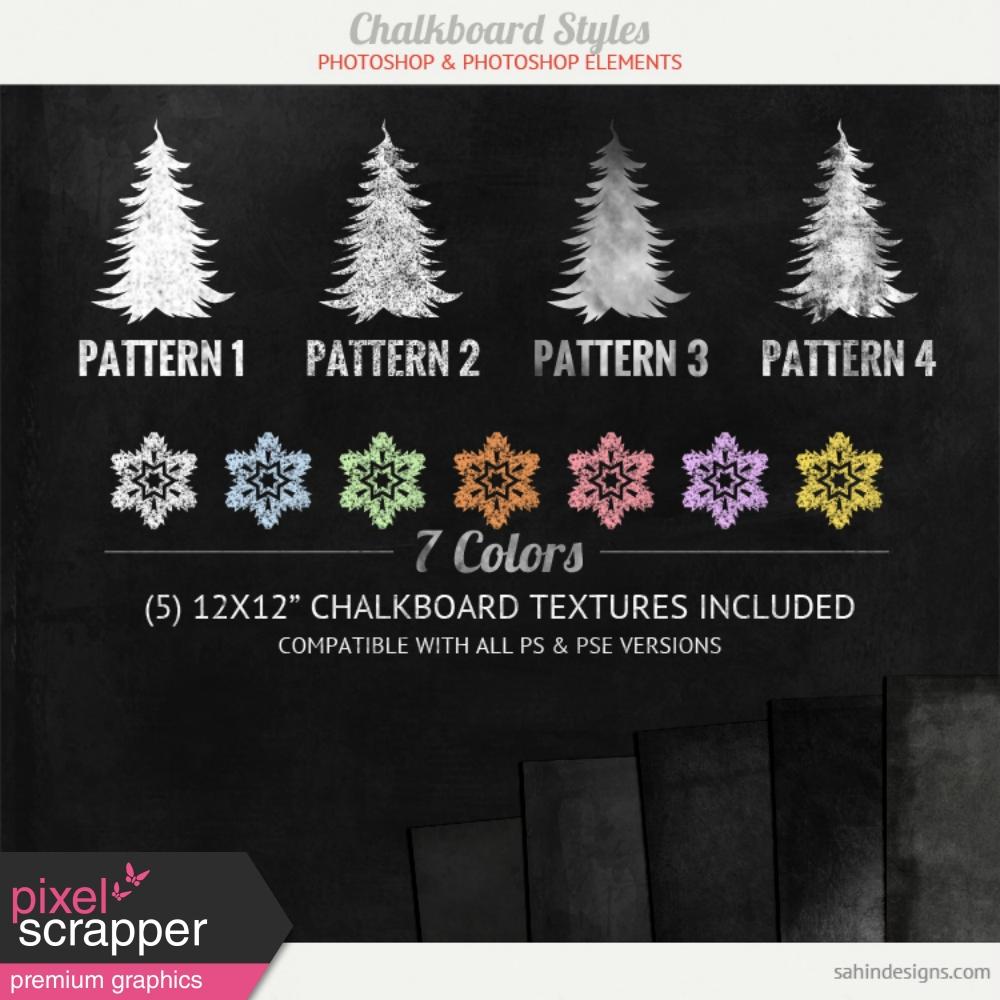
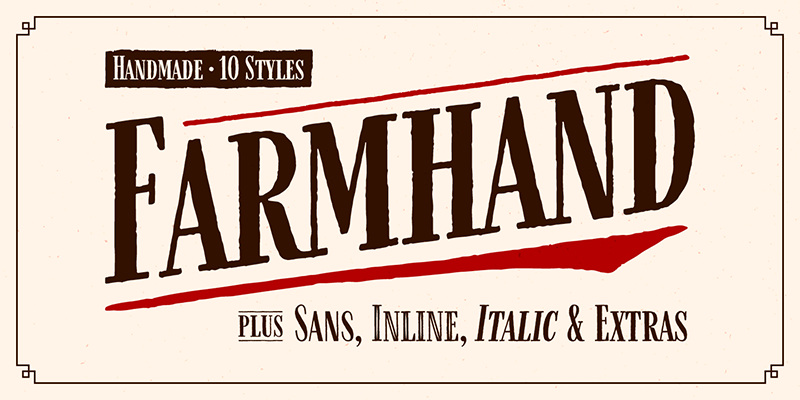
Elif Sahin’s Doodle Actions | Elif Sahain’s Chalboard Styles | Farmhand Font
Step #1
[to see larger images click on the images and open in a new tab/window]
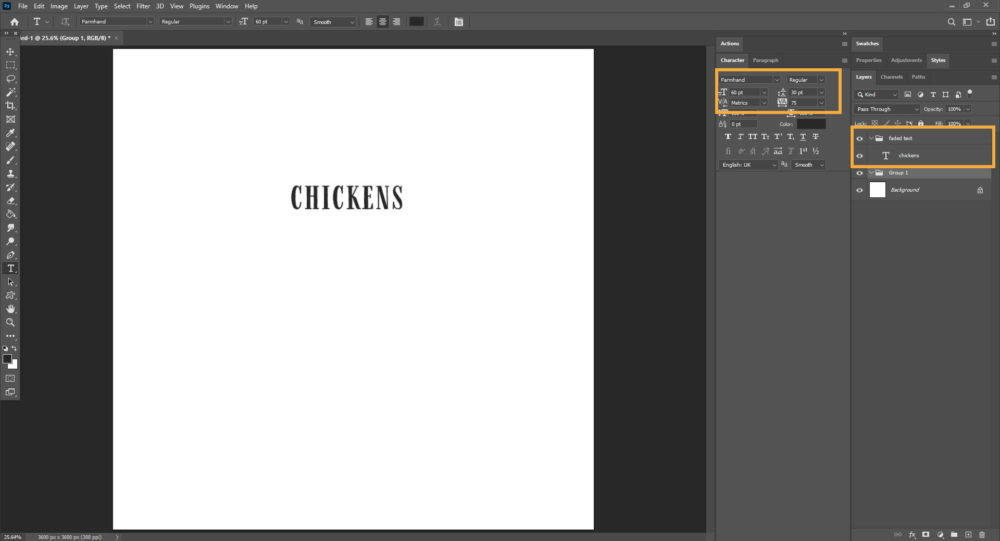
First in a new document create your text. As a note you can use shapes, illustrations, images, ect as well. Create a group and place your text in it. I used the font Farmhand and gave the letters some space.
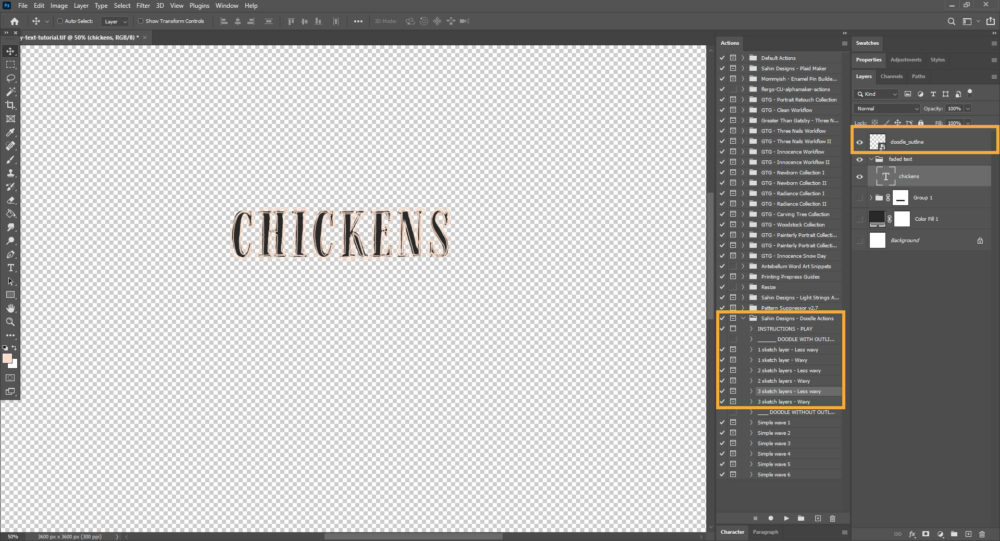
Step #2
Be sure the text file is selected, not the group, and now click on the Doodle Actions : 3 sketch layers – Less Wavy. Push the play button below to run the action. In it you will choose a color. For my case I used a dark cream color. Once it is finished it will create a smart object layer called “doodle_outline”. Note: If you double click on this new layer you can always change the color by filling or clipping a solid color.
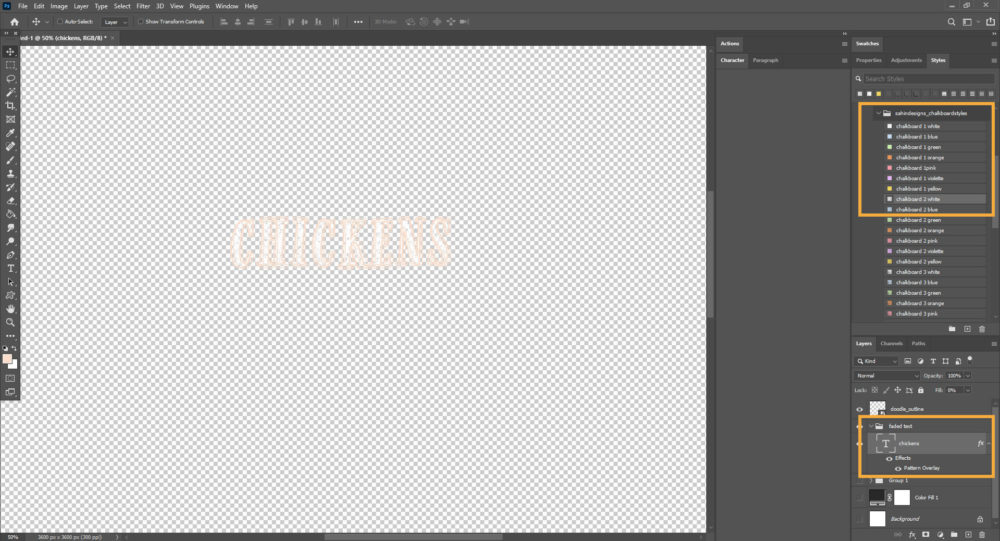
Step #3
Now go be sure your text layer is selected. Find the Chalkboard Style : chalkboard 2 white and select it. This will apply the chalk style to the text.
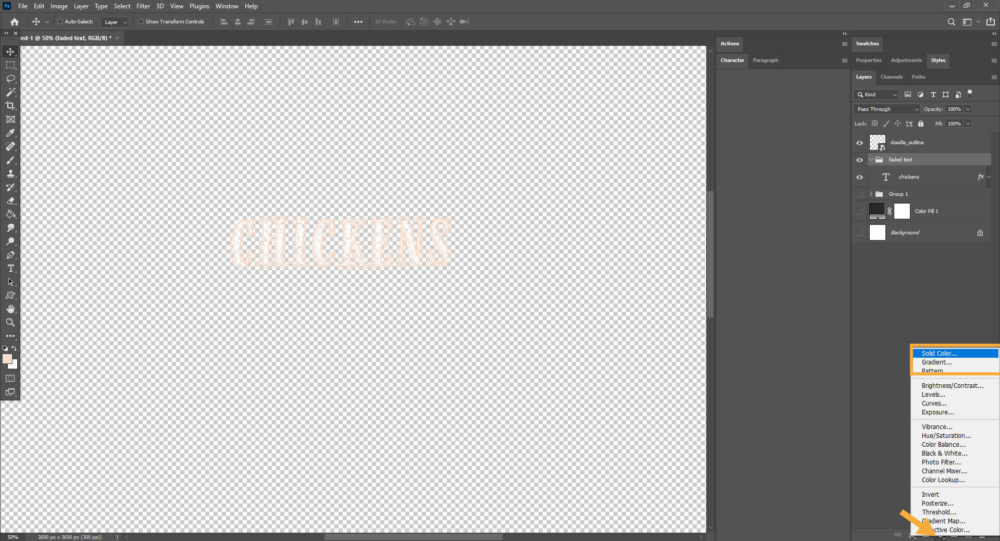
Step #4
Now to apply a color to your text you will need to find the half filled circle at the bottom of the panel. Once you click on it, select from the menu Solid Color & choose your color. In my case I chose a white.
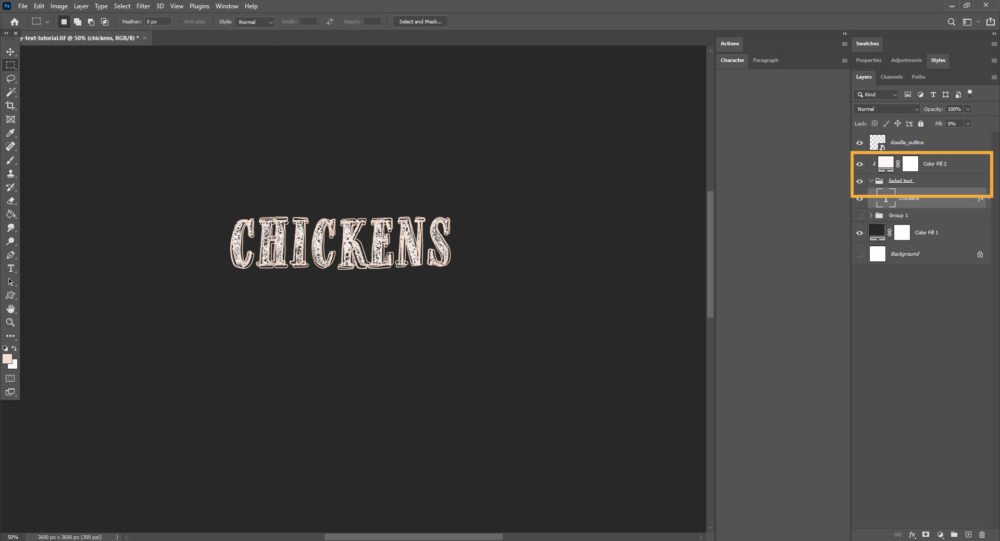
Step #5
Just be sure to clip this solid color layer to your group. And that’s it! I hope this tutorial made sense. 🙂 I used this effect quite a bit in my bundle and I thought it was a really fun end result, so I decided to share how I did it.
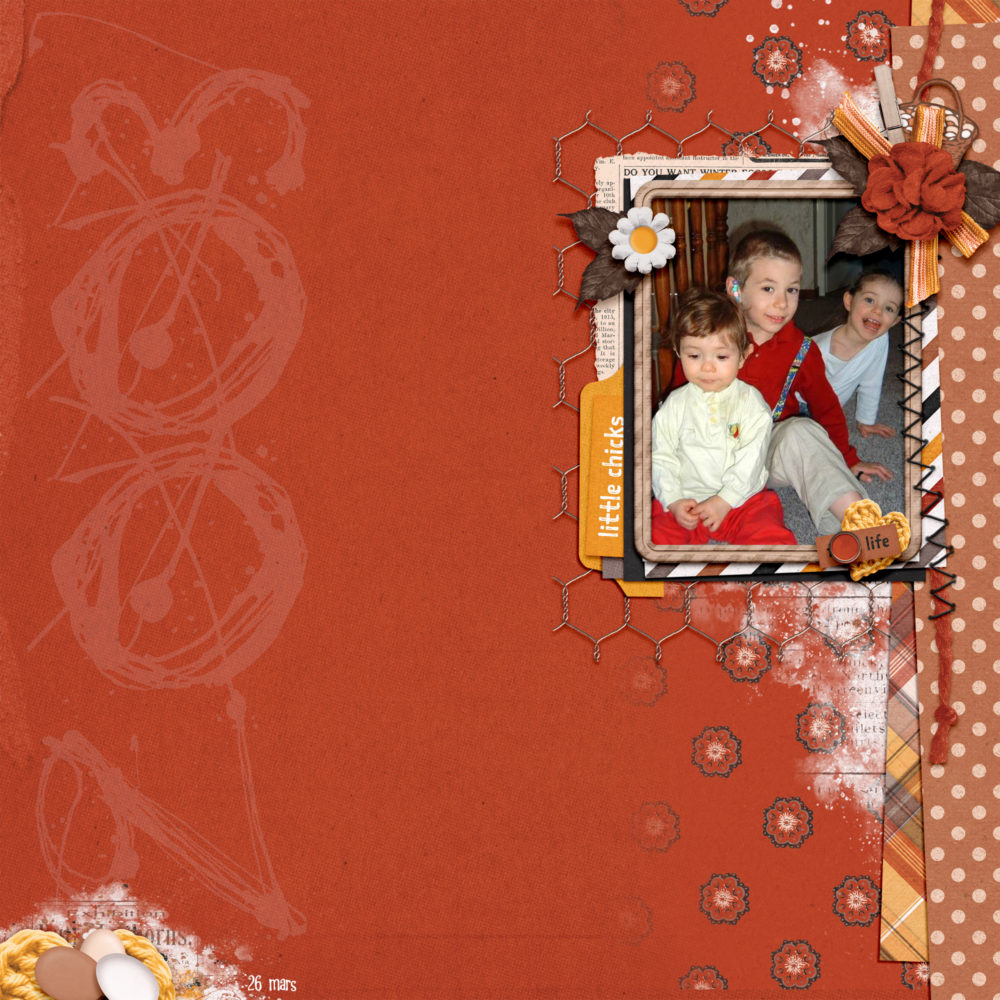
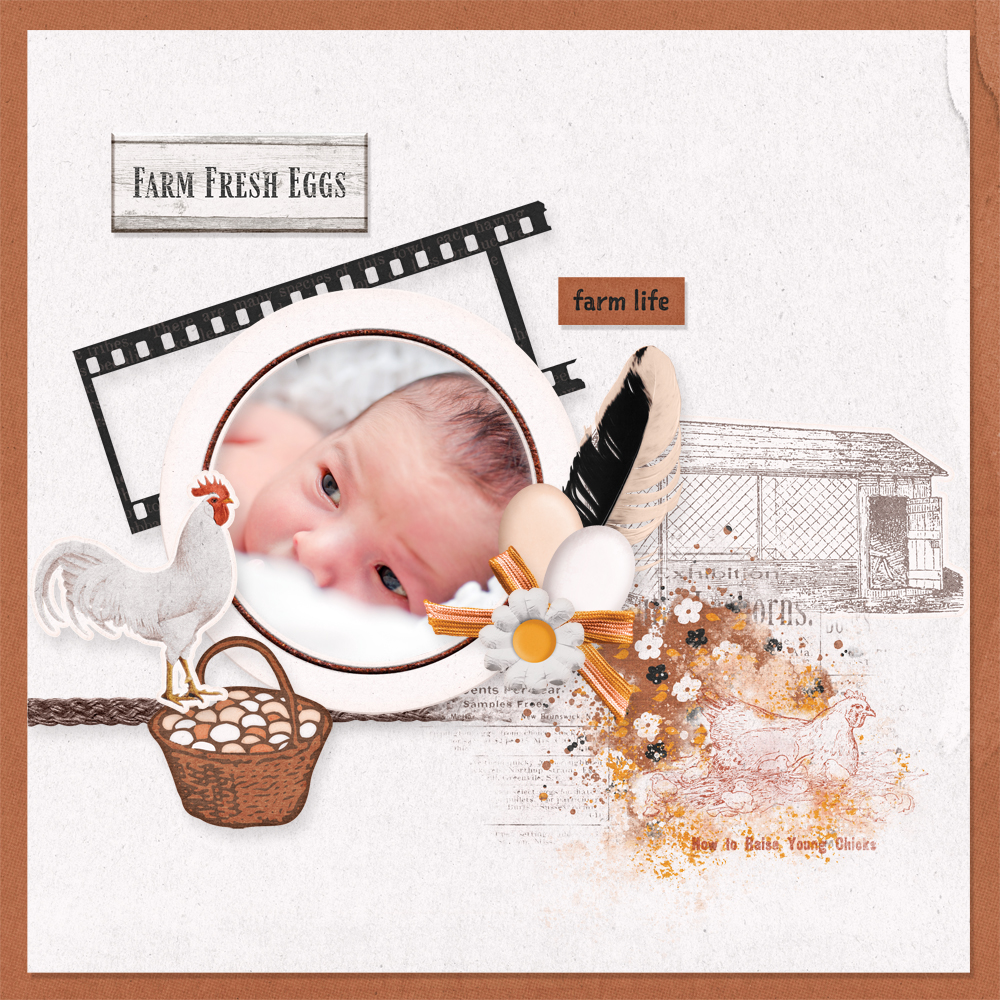
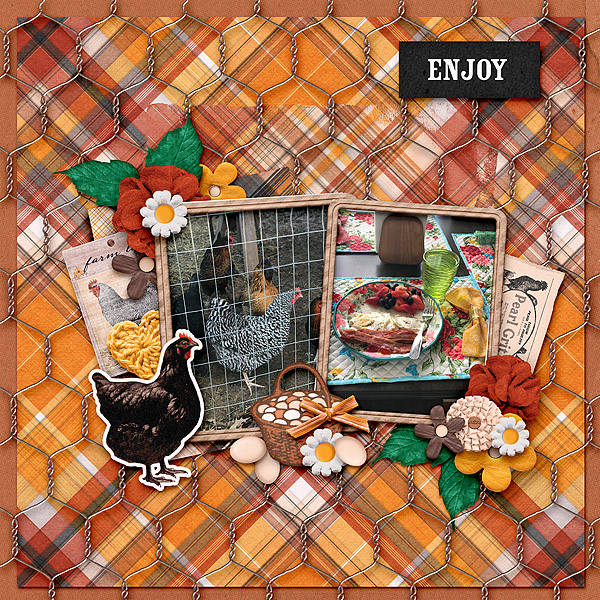
The Creative Team
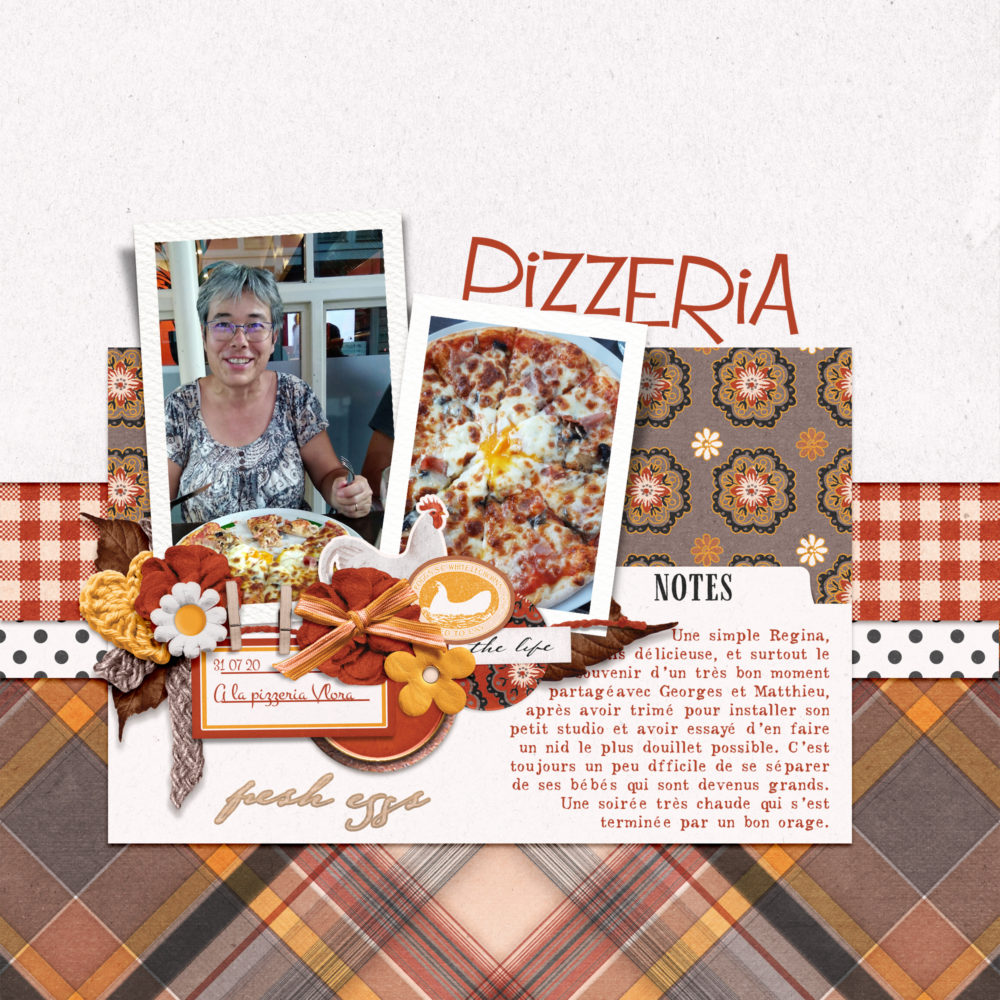
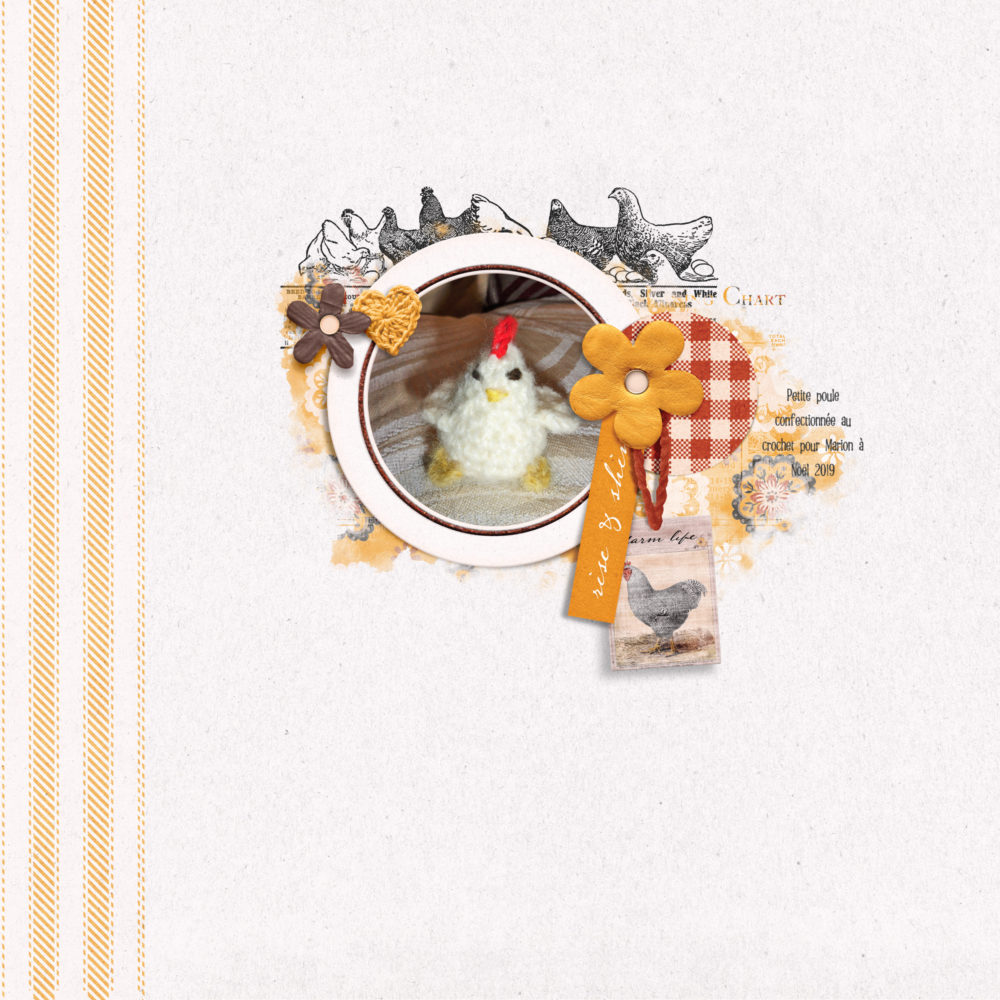
I love my Team! Here are a fantastic set of layouts to inspire you in your creative endeavors!