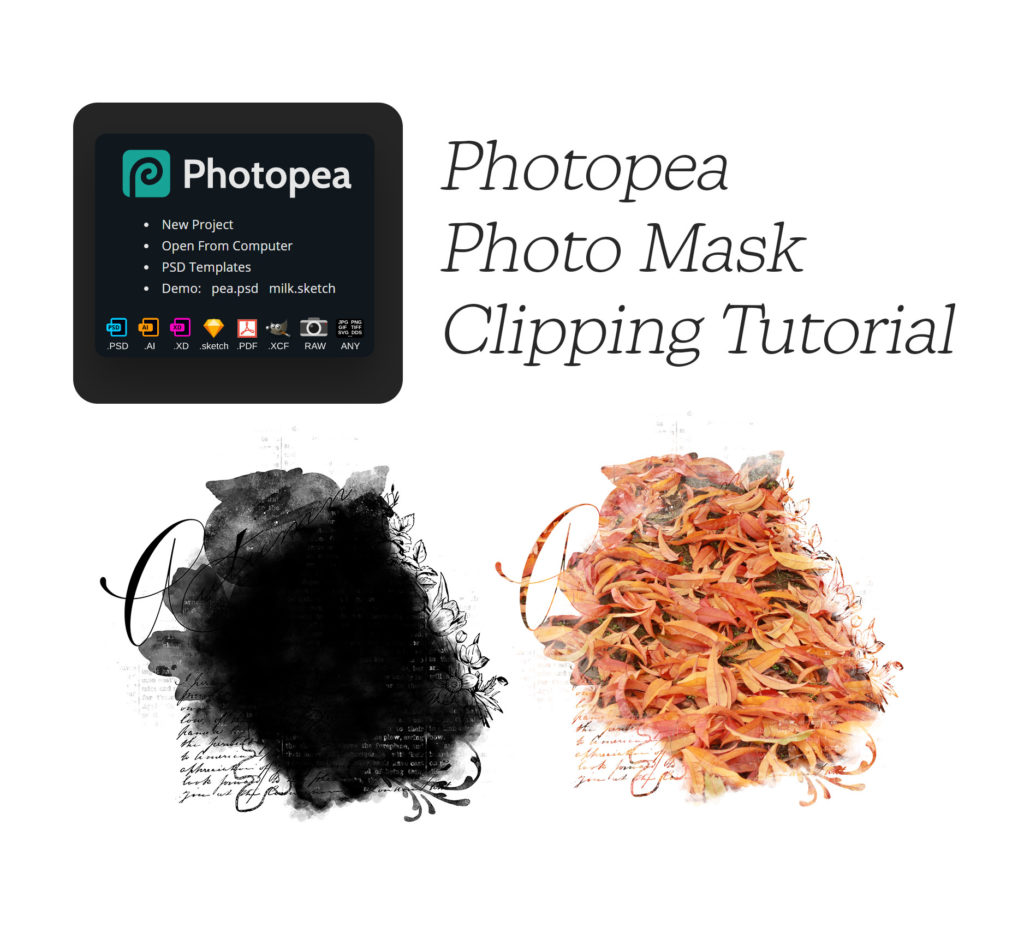
This tutorial is for those who would like to clip a photo, paper or even elements to a photo mask. For the purpose of this tutorial I used a photo mask from my Orchard Traditions bundle which can found here. Just click on the images in each step to see the full size screenshot.
Step #1
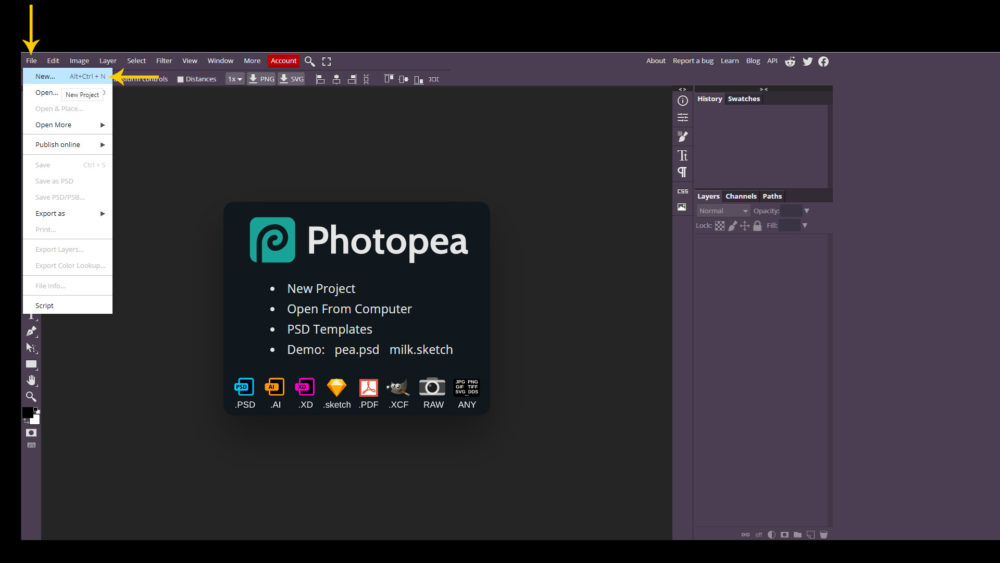
Click File then click New
Step #2
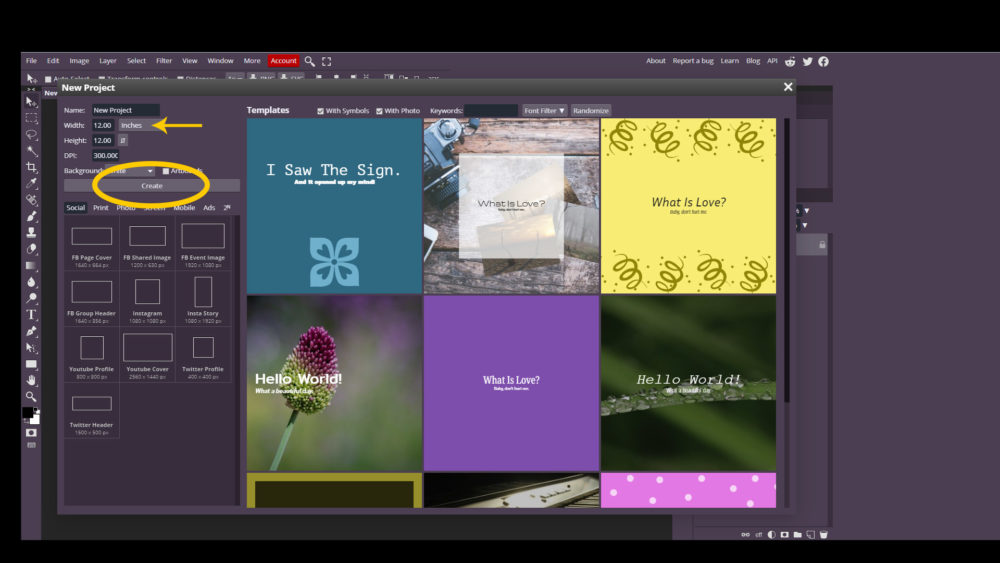
Here in the New Project box you can set your Name, which I left as New Project, and I created a 12×12 workspace. To do that select inches from the dropdown, type 12 in width, and 12 in height. [It will add the decimals automatically.] In the DPI box set it to 300. Then click the Create button below those settings.
Step #3
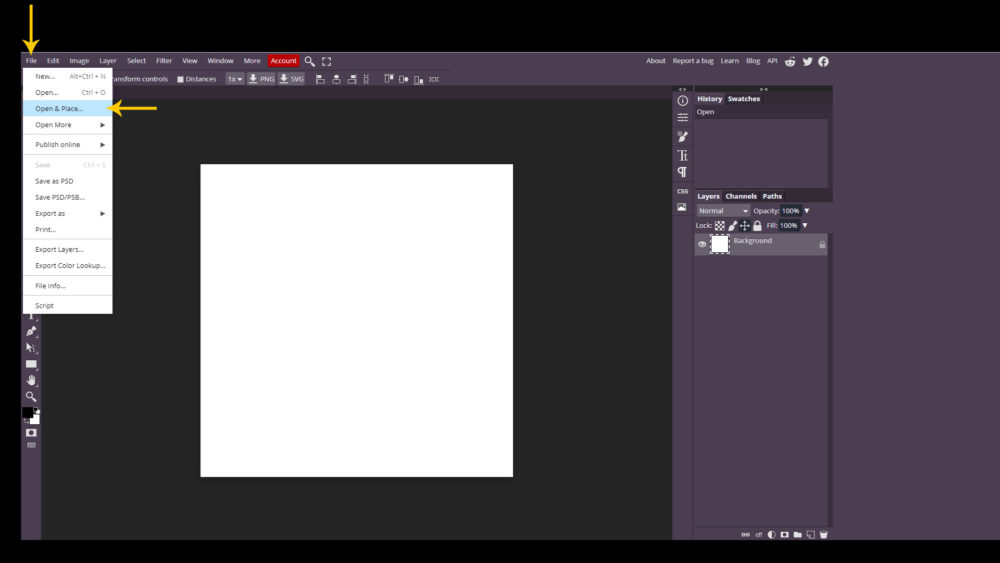
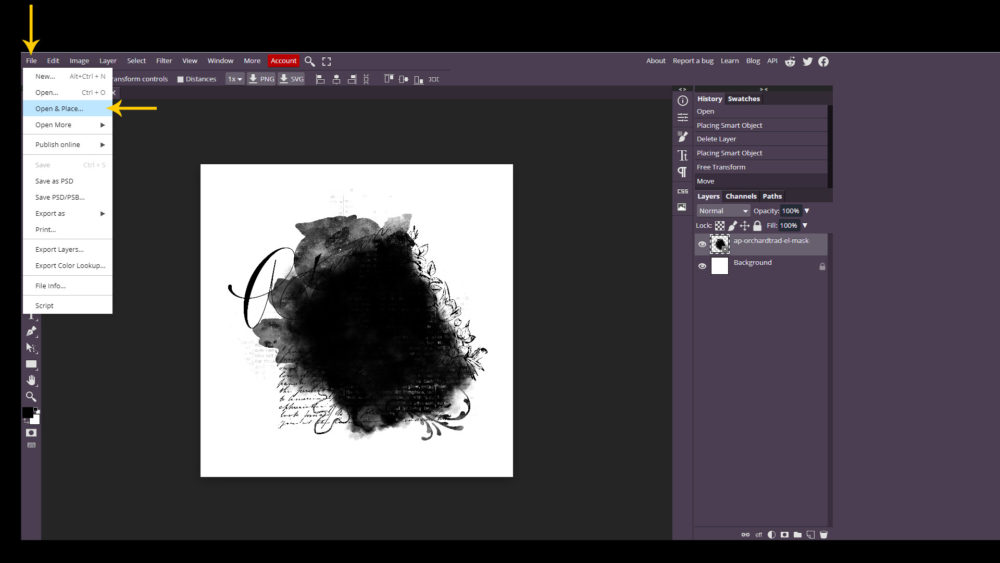
Now go back to File and click Open & Place. This will bring up a dialog box to browse your hard drive. Choose your photo mask and click Open.
Step #4
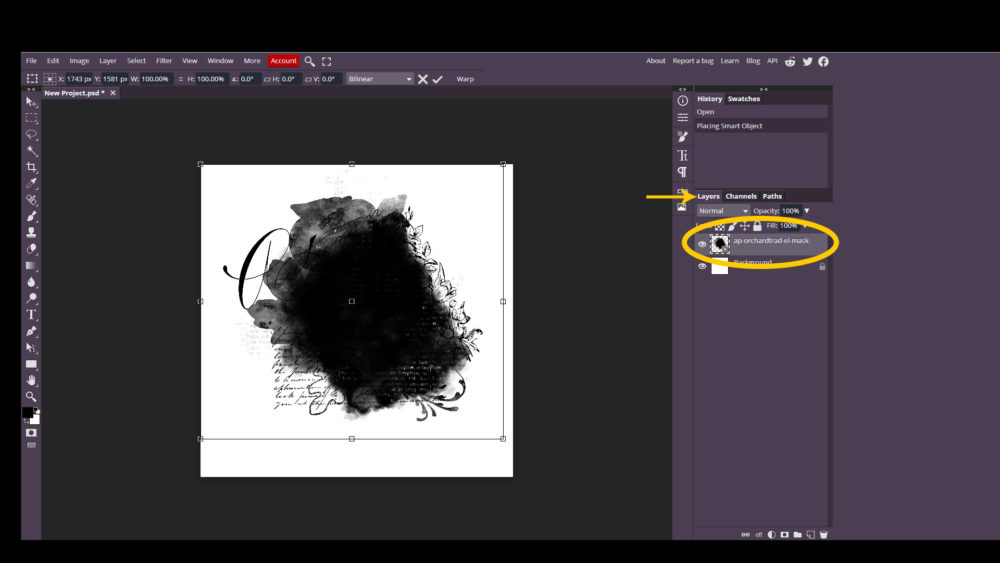
This will now place your photo mask on to your 12×12 New Project. The arrow shows where your Layers panel is & I have circled the photo mask layer as shown in the Layers panel. Now if you do not see a Layers panel see the next step otherwise skip to Step #5.
Step #4b
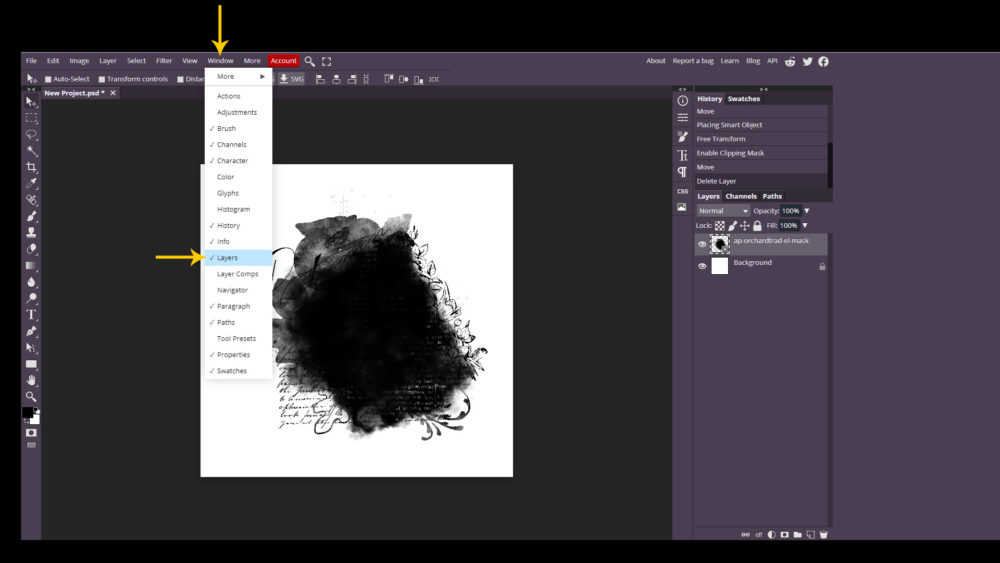
If you do not see a Layers panel select Window and then Layers. A checkbox will appear which which then unhide the Layers panel for you to access.
Step #5
Now it’s time to add your photo. We are going to do the same as we did in step 3. Go to File and then click Open & Place. Again this will bring up a dialog box to browse your hard drive. Choose your photo and click Open.
Step #6
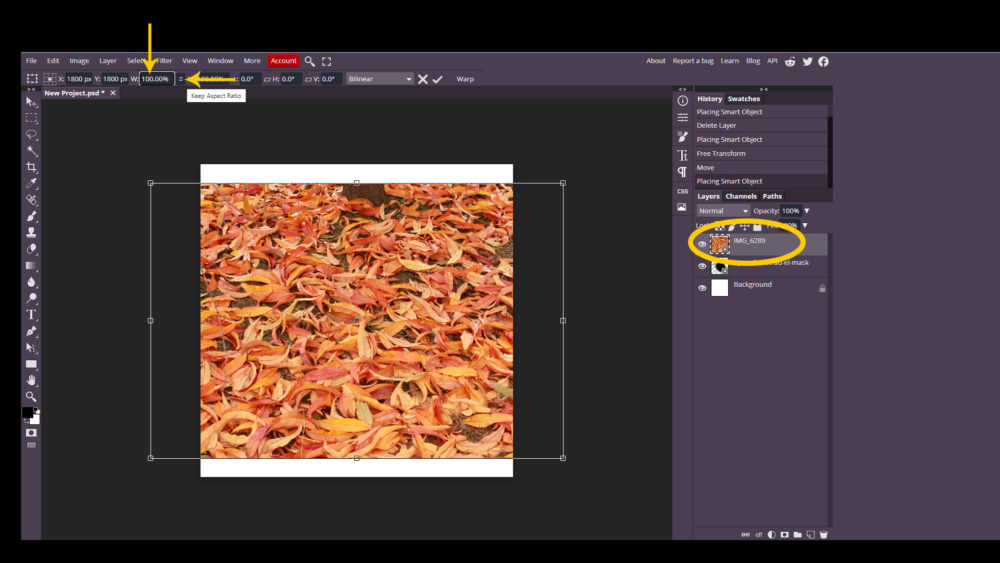
When it places your photo you might notice it is smaller than it’s original size. You should be able to see a bar above your project which has some numbers on it. In between the W & the first H boxes, which are the width & height on your selected image, you will notice 3 little lines. Be sure to click on that. Now type 100 in the W box. H should automatically update to 100 as well. If not check that box with the 3 lines again. I circled where your photo layer is in the Layers panel.
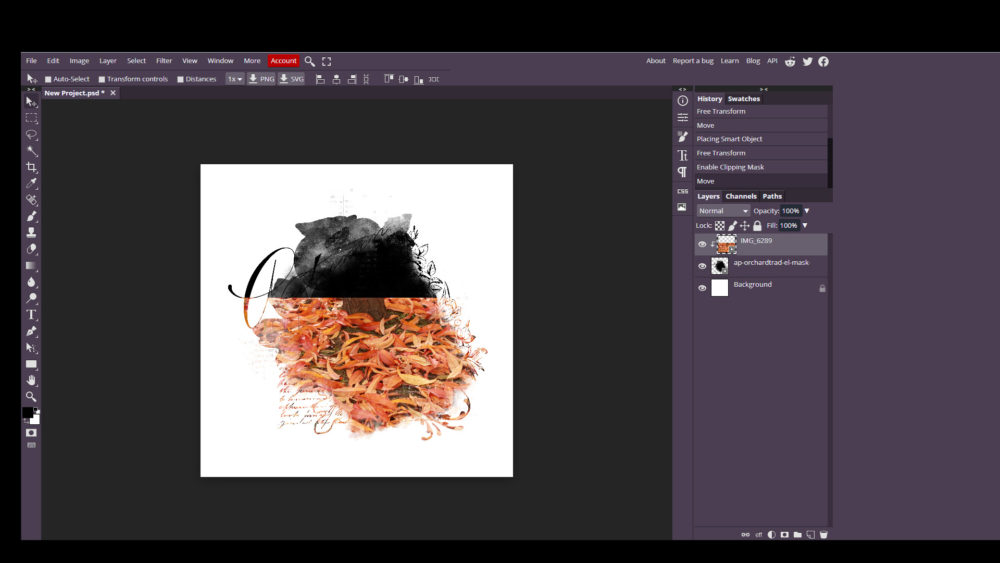
Step #7
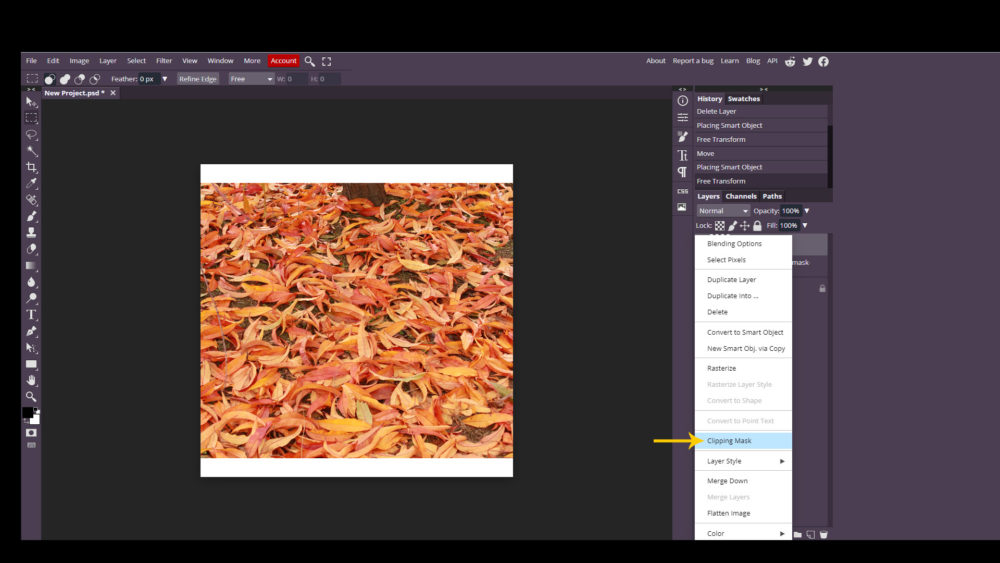
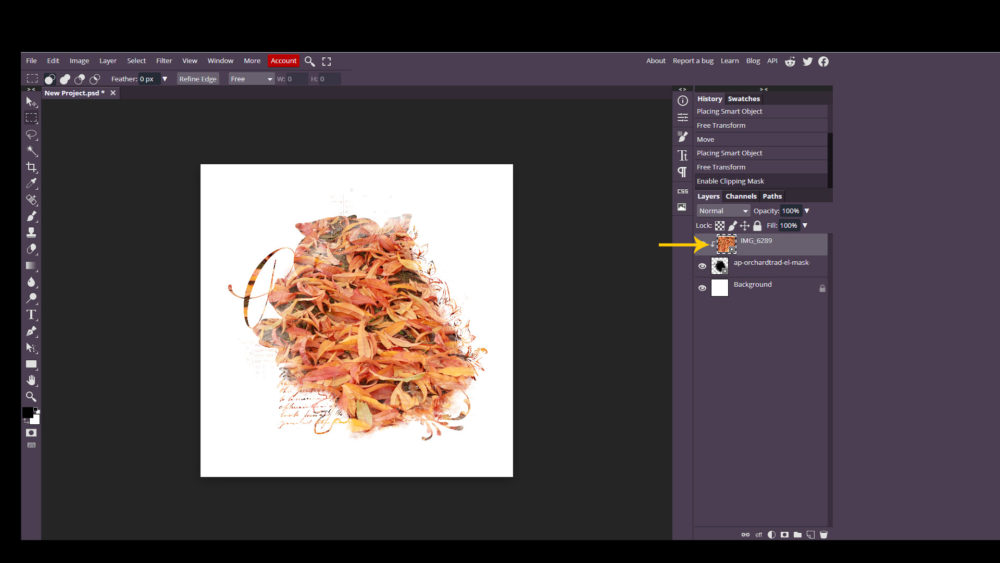
Your photo should still be selected in the Layers panel. Right click on it and a menu will appear. Click on Clipping Mask. This will clip your photo to the mask and as you will see a bent arrow will appear next to it which indicates it is clipped to the layer below, as shown on the other screenshot of this step. This completes clipping a photo to a photo mask. But what if its not where you would like it and need to move it? Continue to the next step.
Step #8
Be sure your photo is still selected in the Layers panel. Just click on it, if it is not. Now find your way to the Move tool on your tools box which is on the left side of the application.

Step #9
Now just drag it around in your photo mask until you are happy with its placement.
Step #9
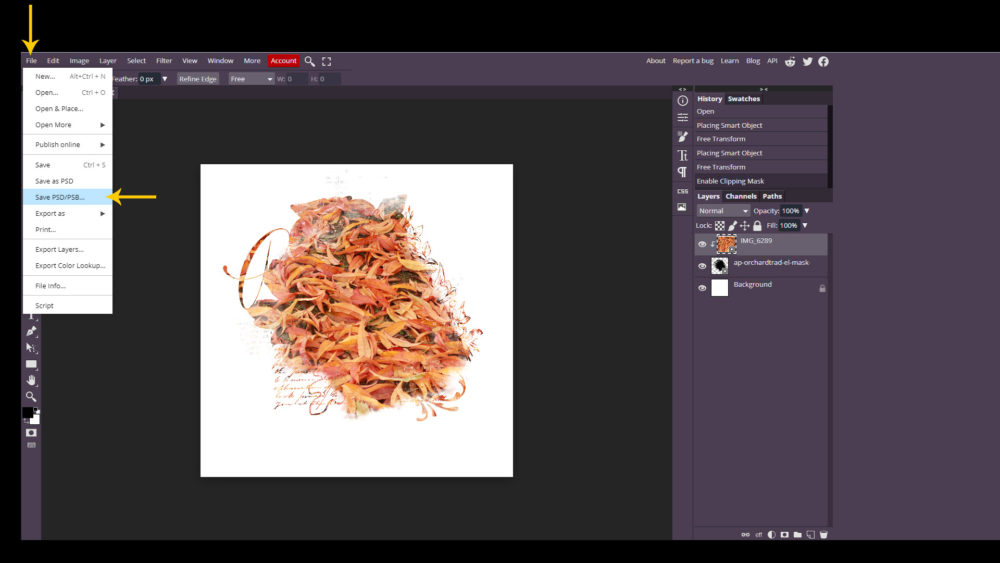
To save your file you can click on File and then Save as PSD, which will open a dialog to your hard drive to save. However, at least from my browser Opera, the file that it saved from that method did not seem to work. After saving, and trying to open it in my Adobe Photoshop it gave me an error.
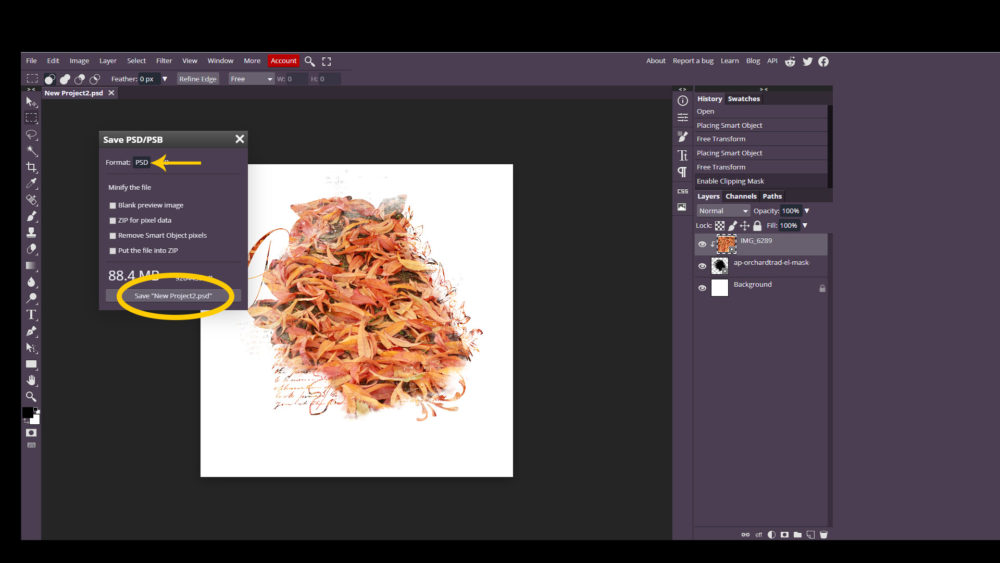
But I found that Save as PSD/PSB worked just fine. To do that just click File then click Save as PSD/PSB. In the box that pops up be sure PSD is selected and then click Save New Project.psd. [New Project.psd is actually whatever your file name is which can be set in Step #1] It will then download it to your current downloads folder for your browser. That’s it!