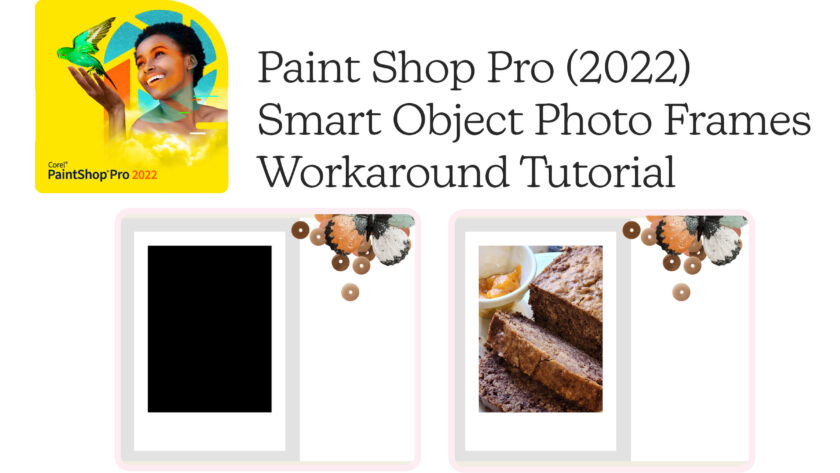
Paint Shop Pro does not support Photoshop’s smart objects. This tutorial is for those who would like to utilize layout templates which use smart objects for the photo frames. Just click on the images in each step to see the full size screenshot.
Step #1
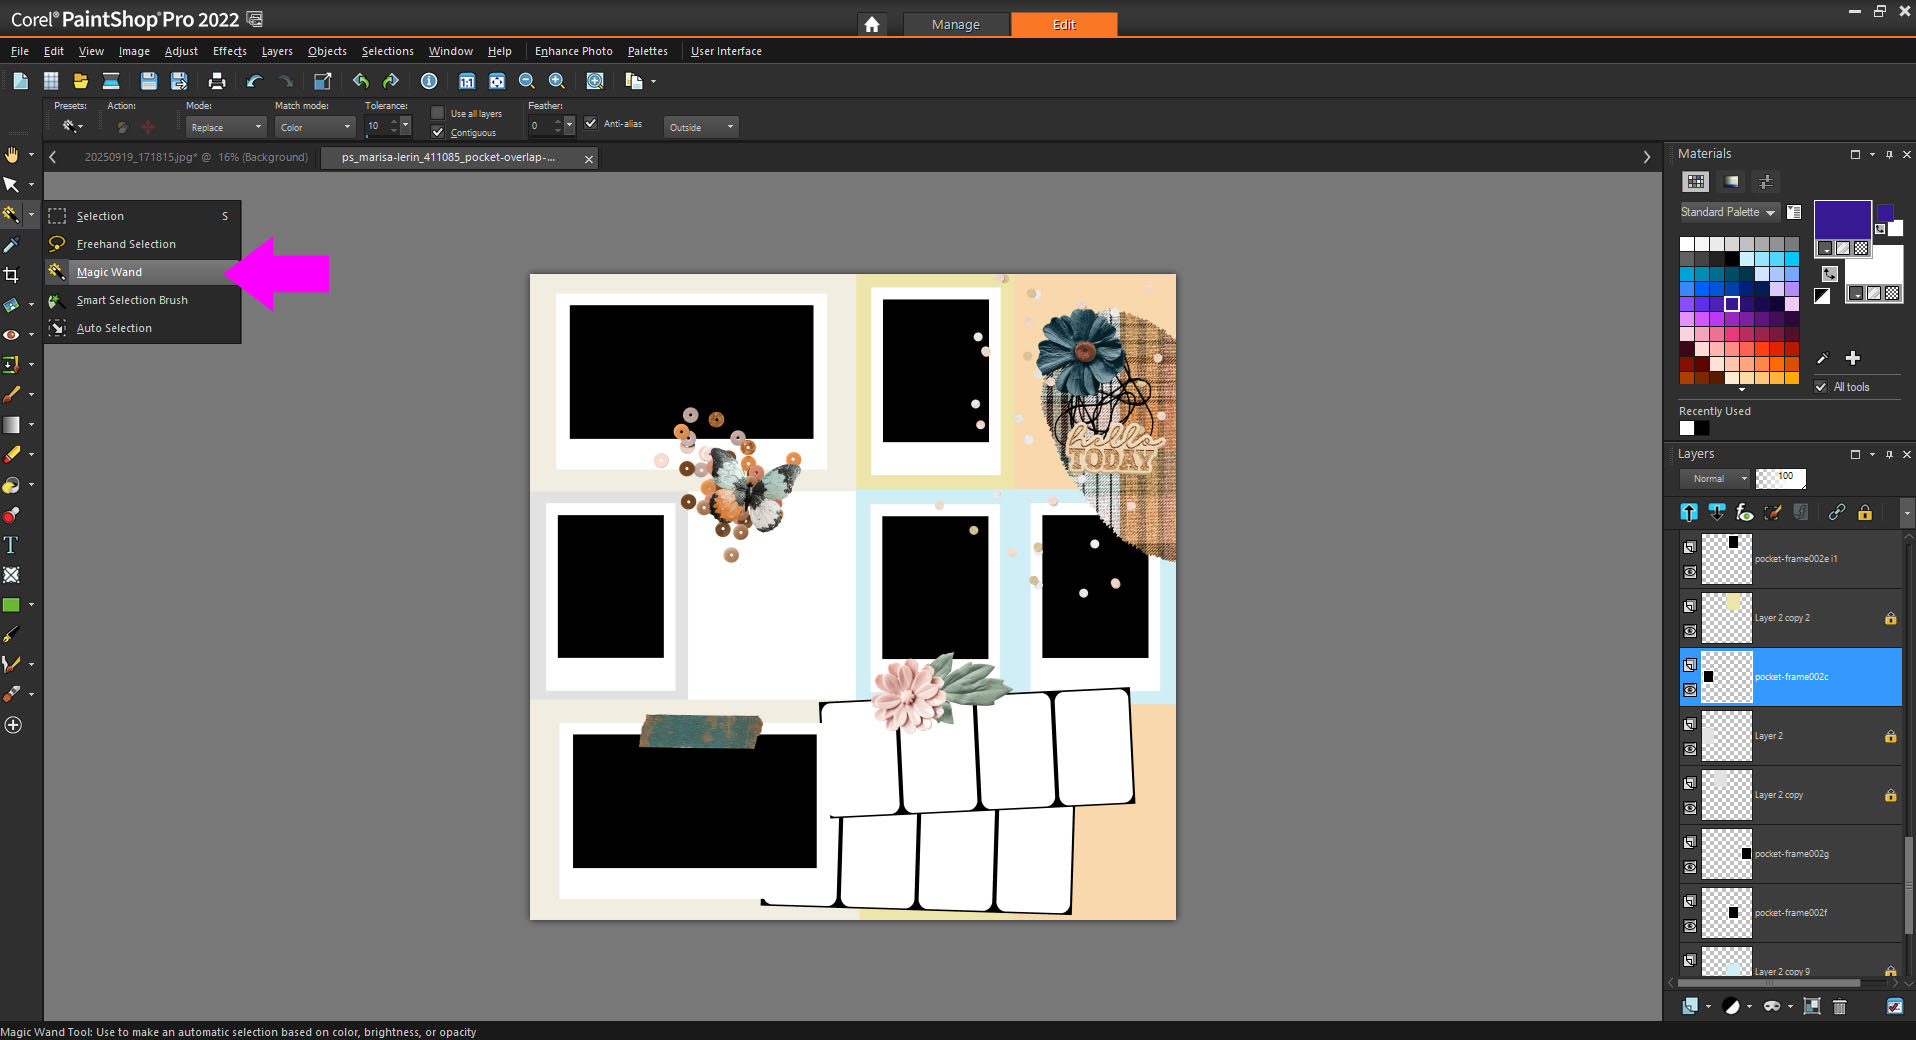
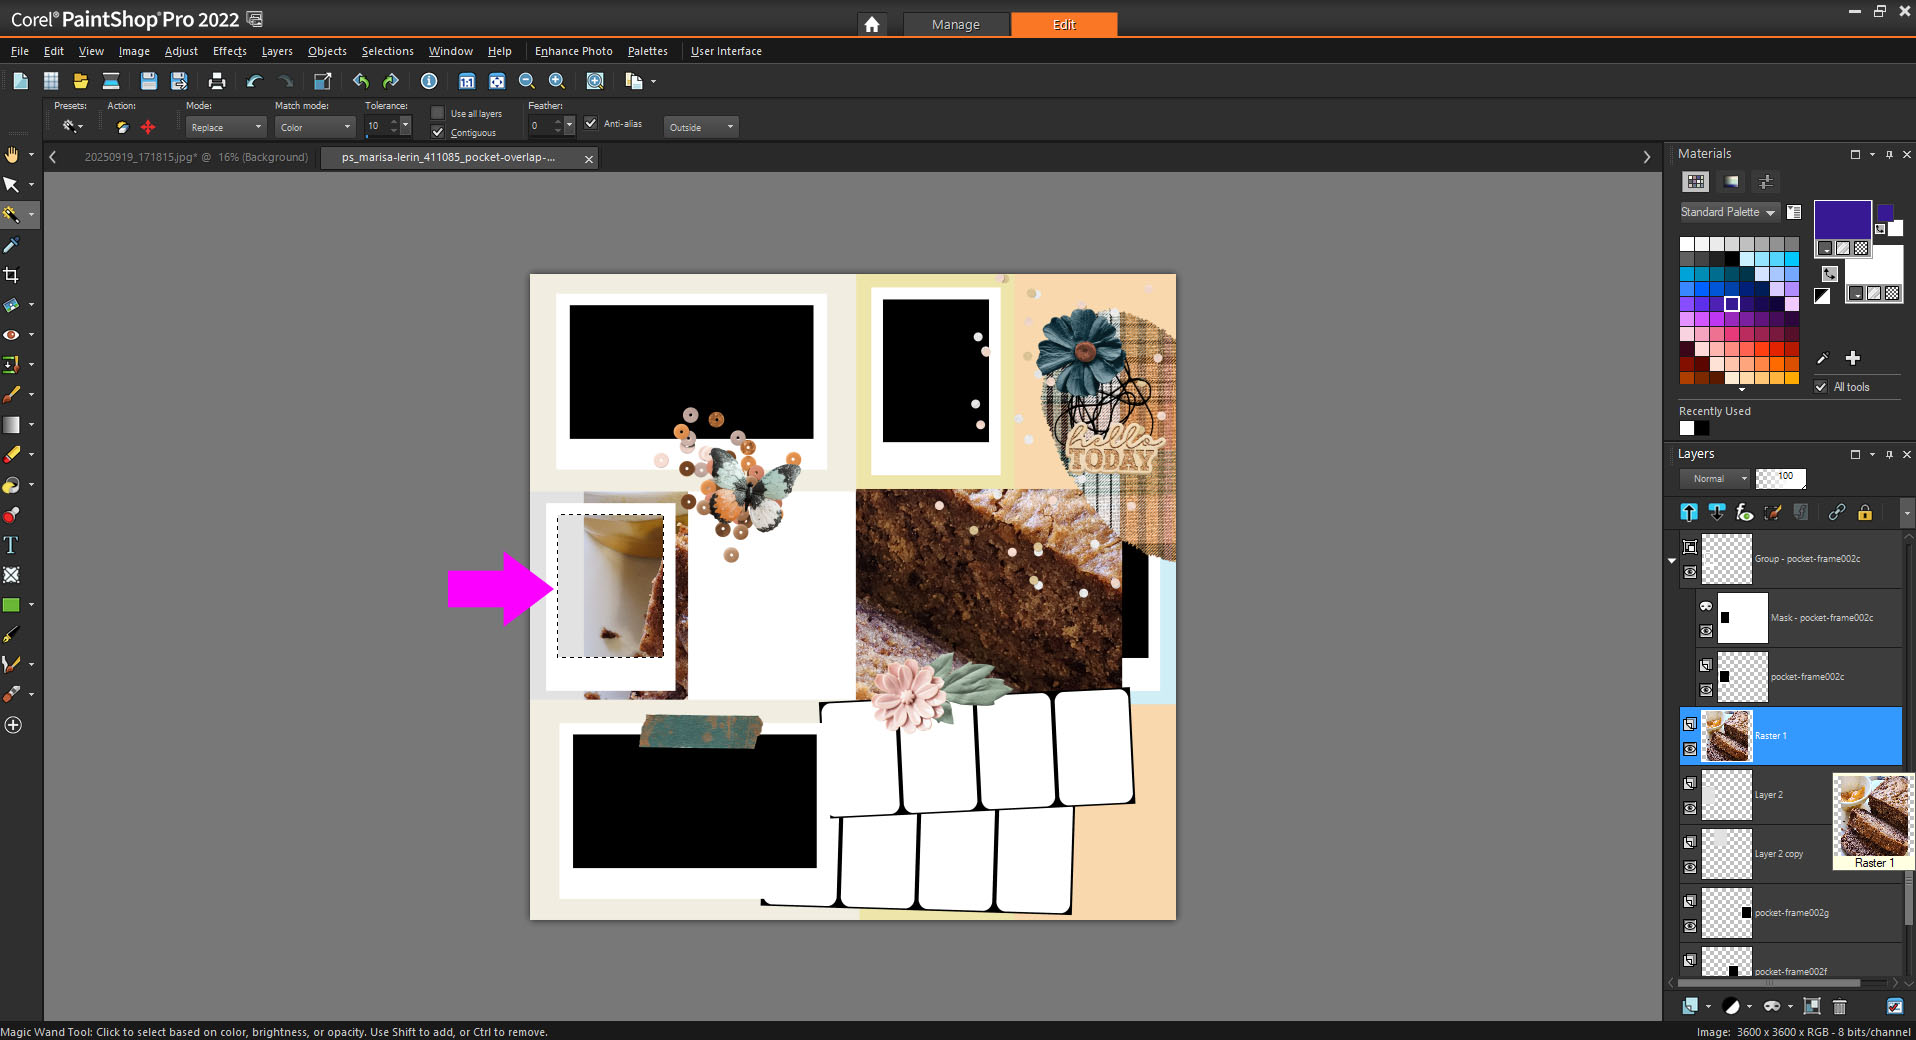
After opening your layout template, in this case I used Marisa’s Pocket Overlap Template 6, click on the layer you want to add a photo to. Then select Magic Wand from the toolbar, and click in the black area of your selected layer – which is meant for the photo.
Step #2
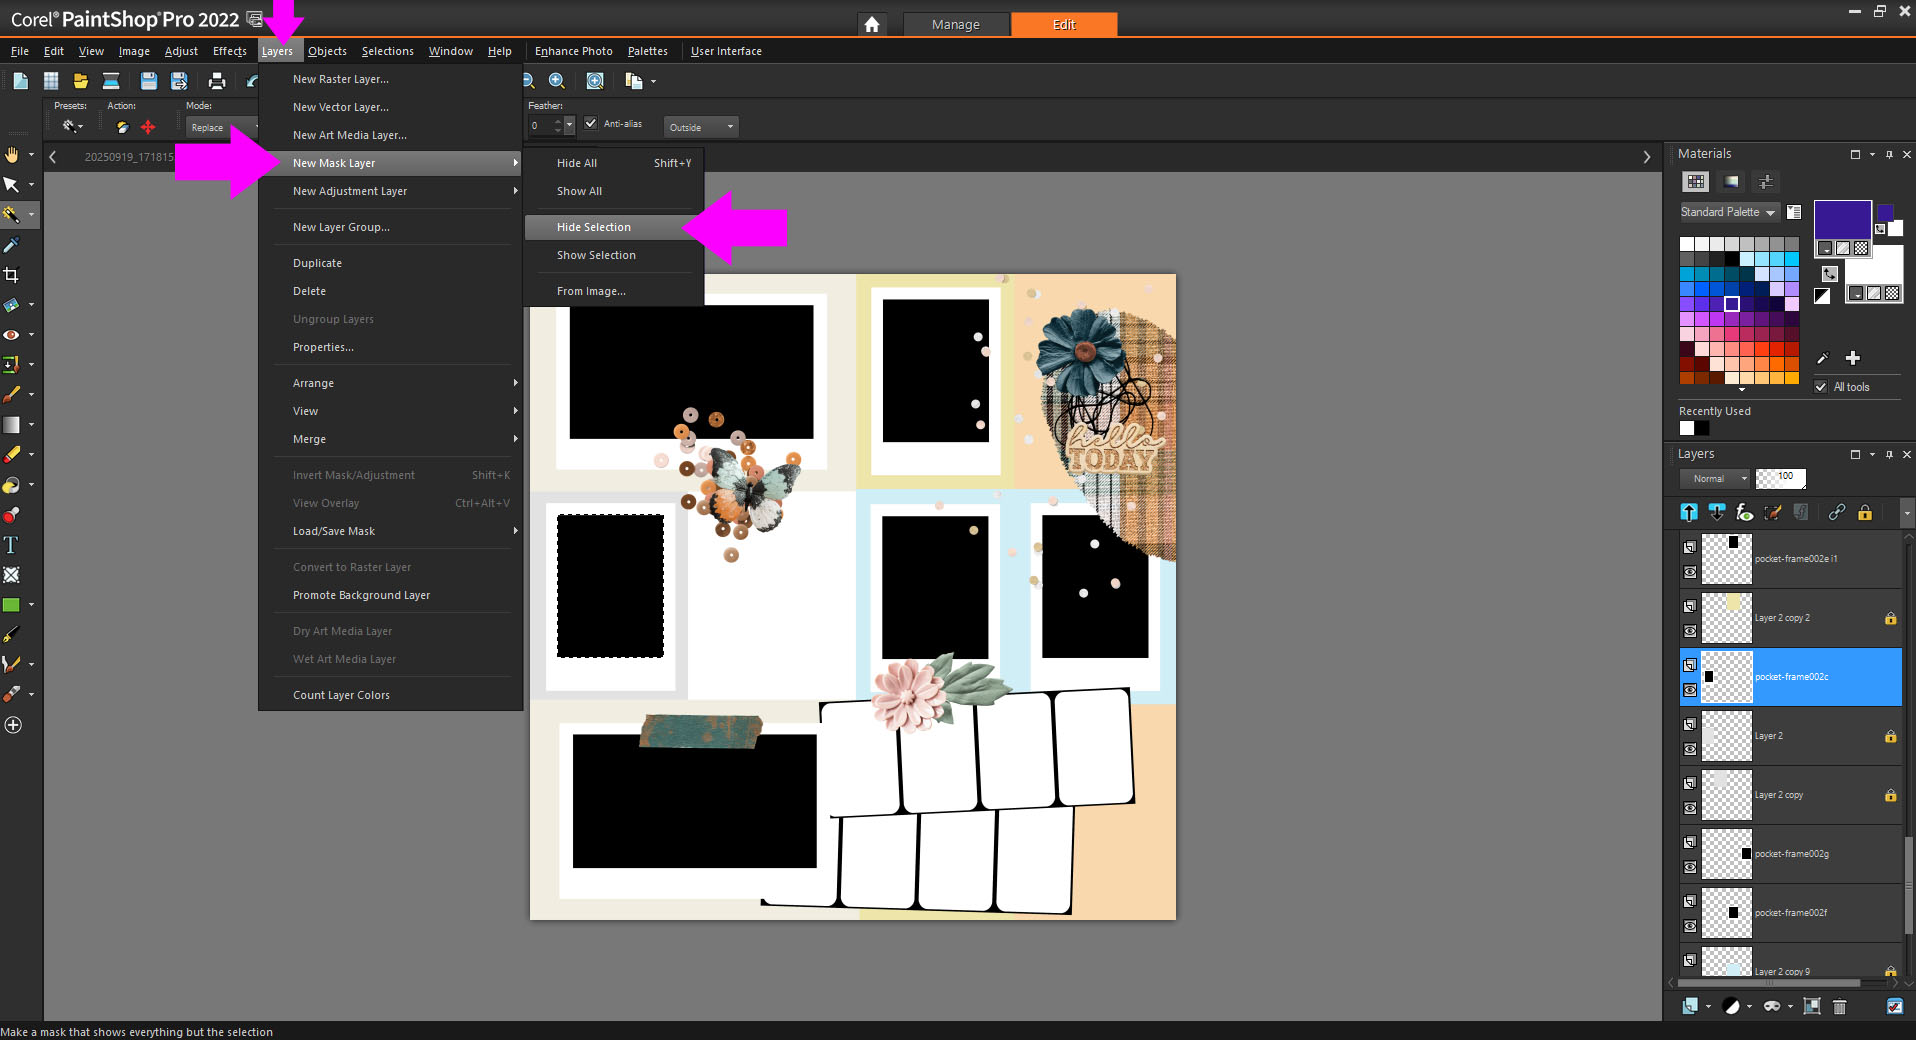
While it is still selected, go to Layer-> New Mask Layer->Hide Selection. This will make the black area disappear.
Step #3
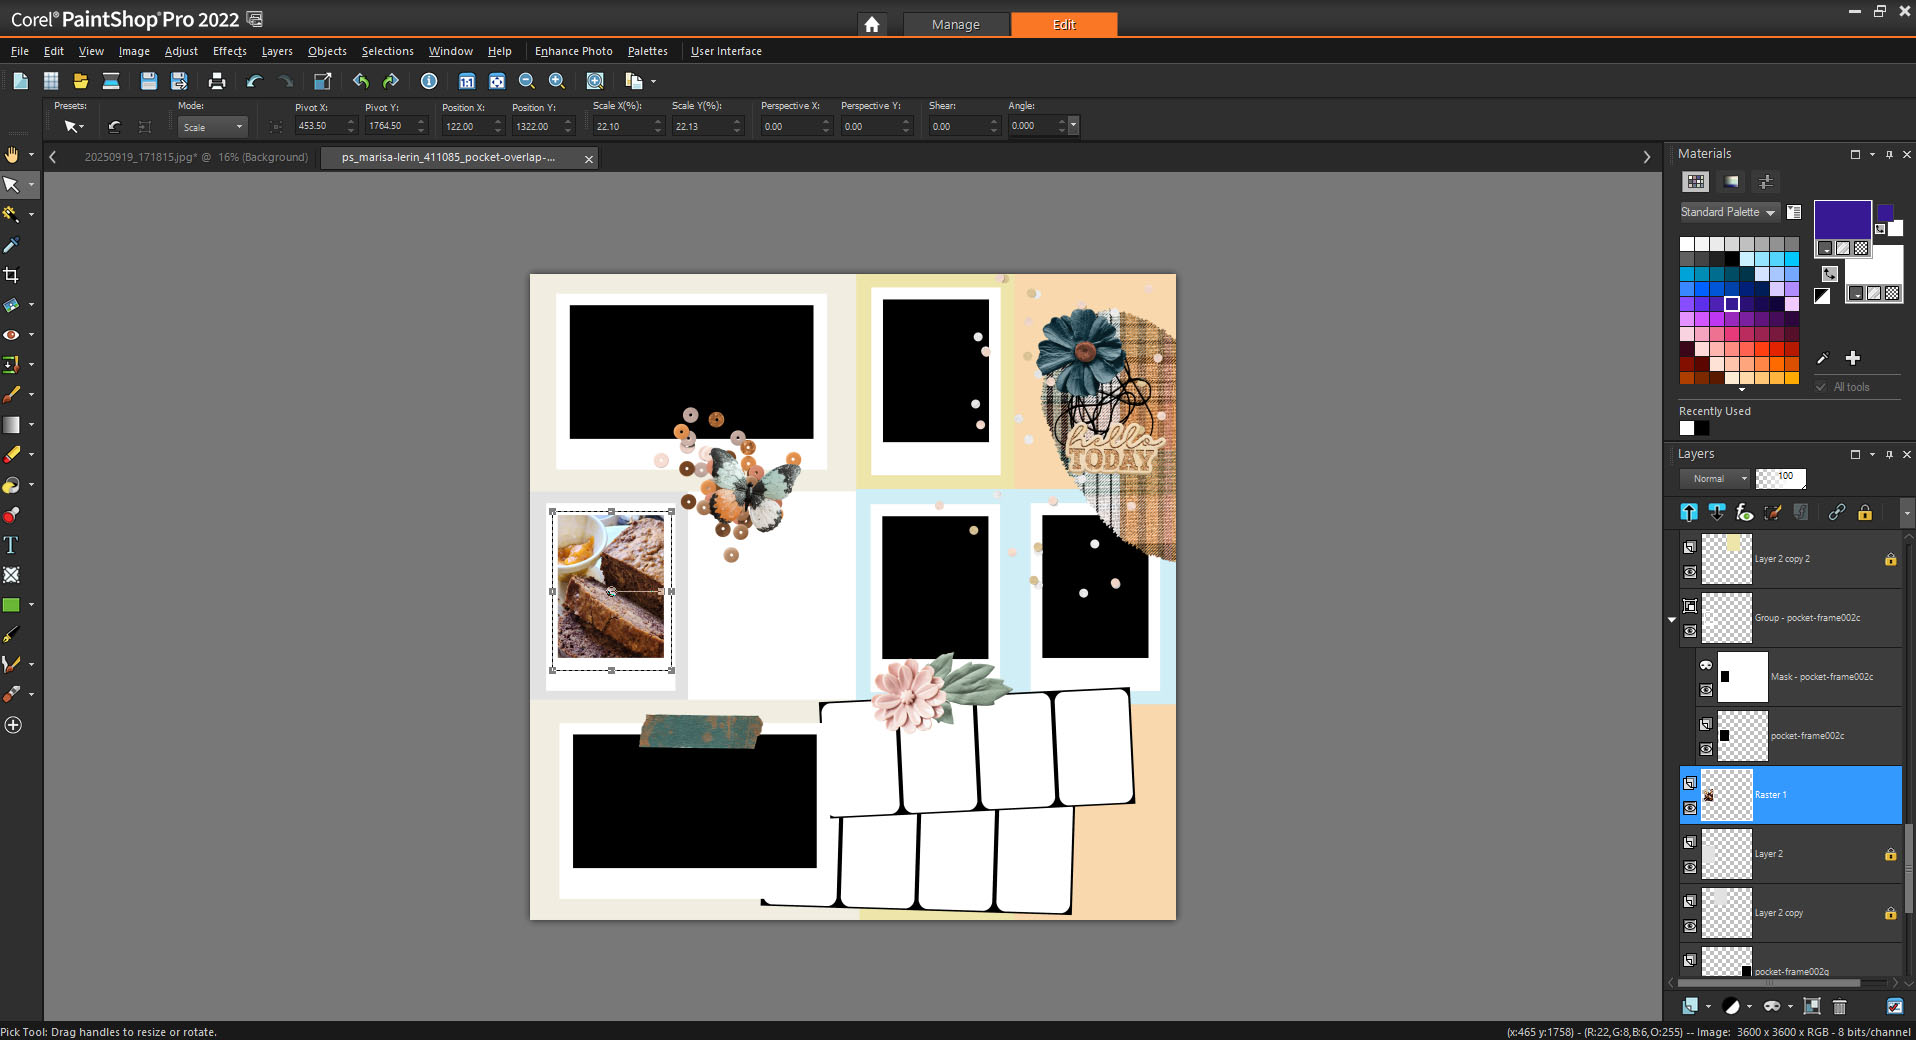
Right below masked layers, add the photo that you want to place behind the frame. In my case you will see it is clearly too large. So now we need to resize it to fit within the photo frame.
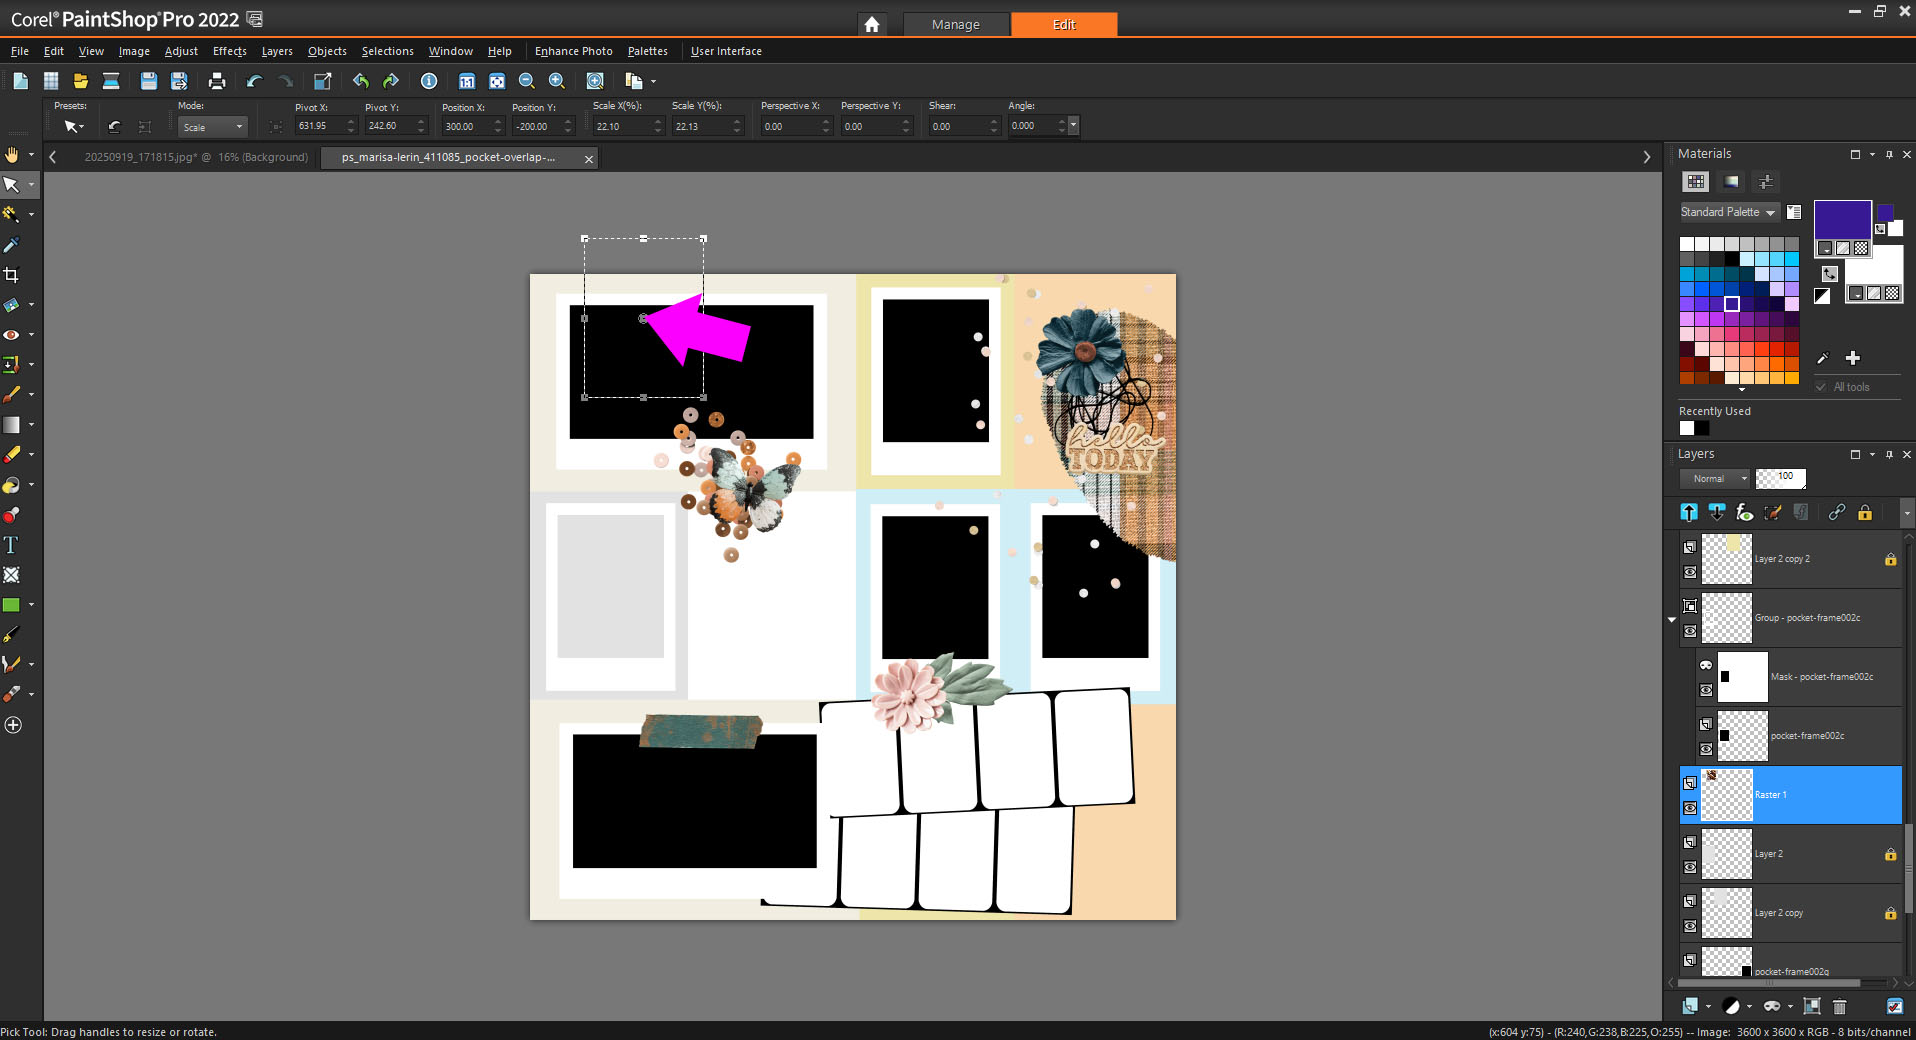
Step #4
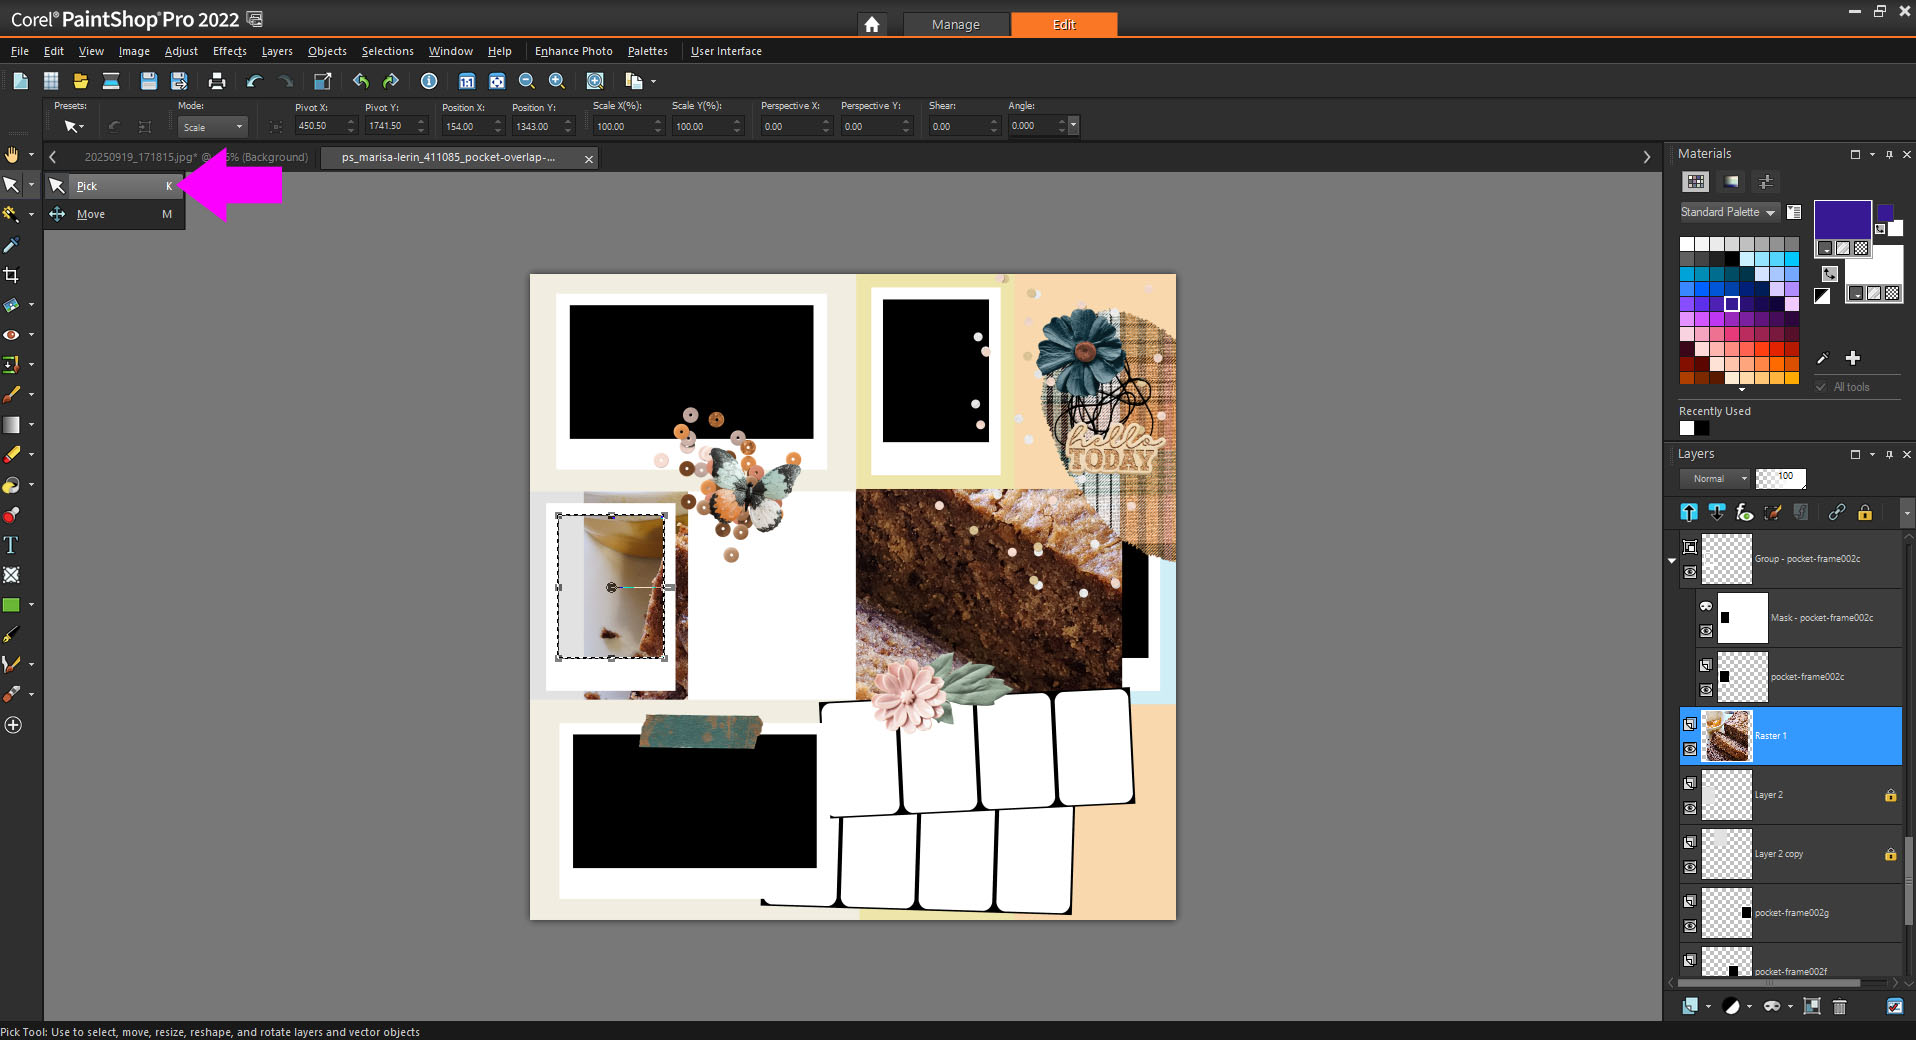
Your photo layer should be selected, now choose Pick from the toolbar.
Step #5
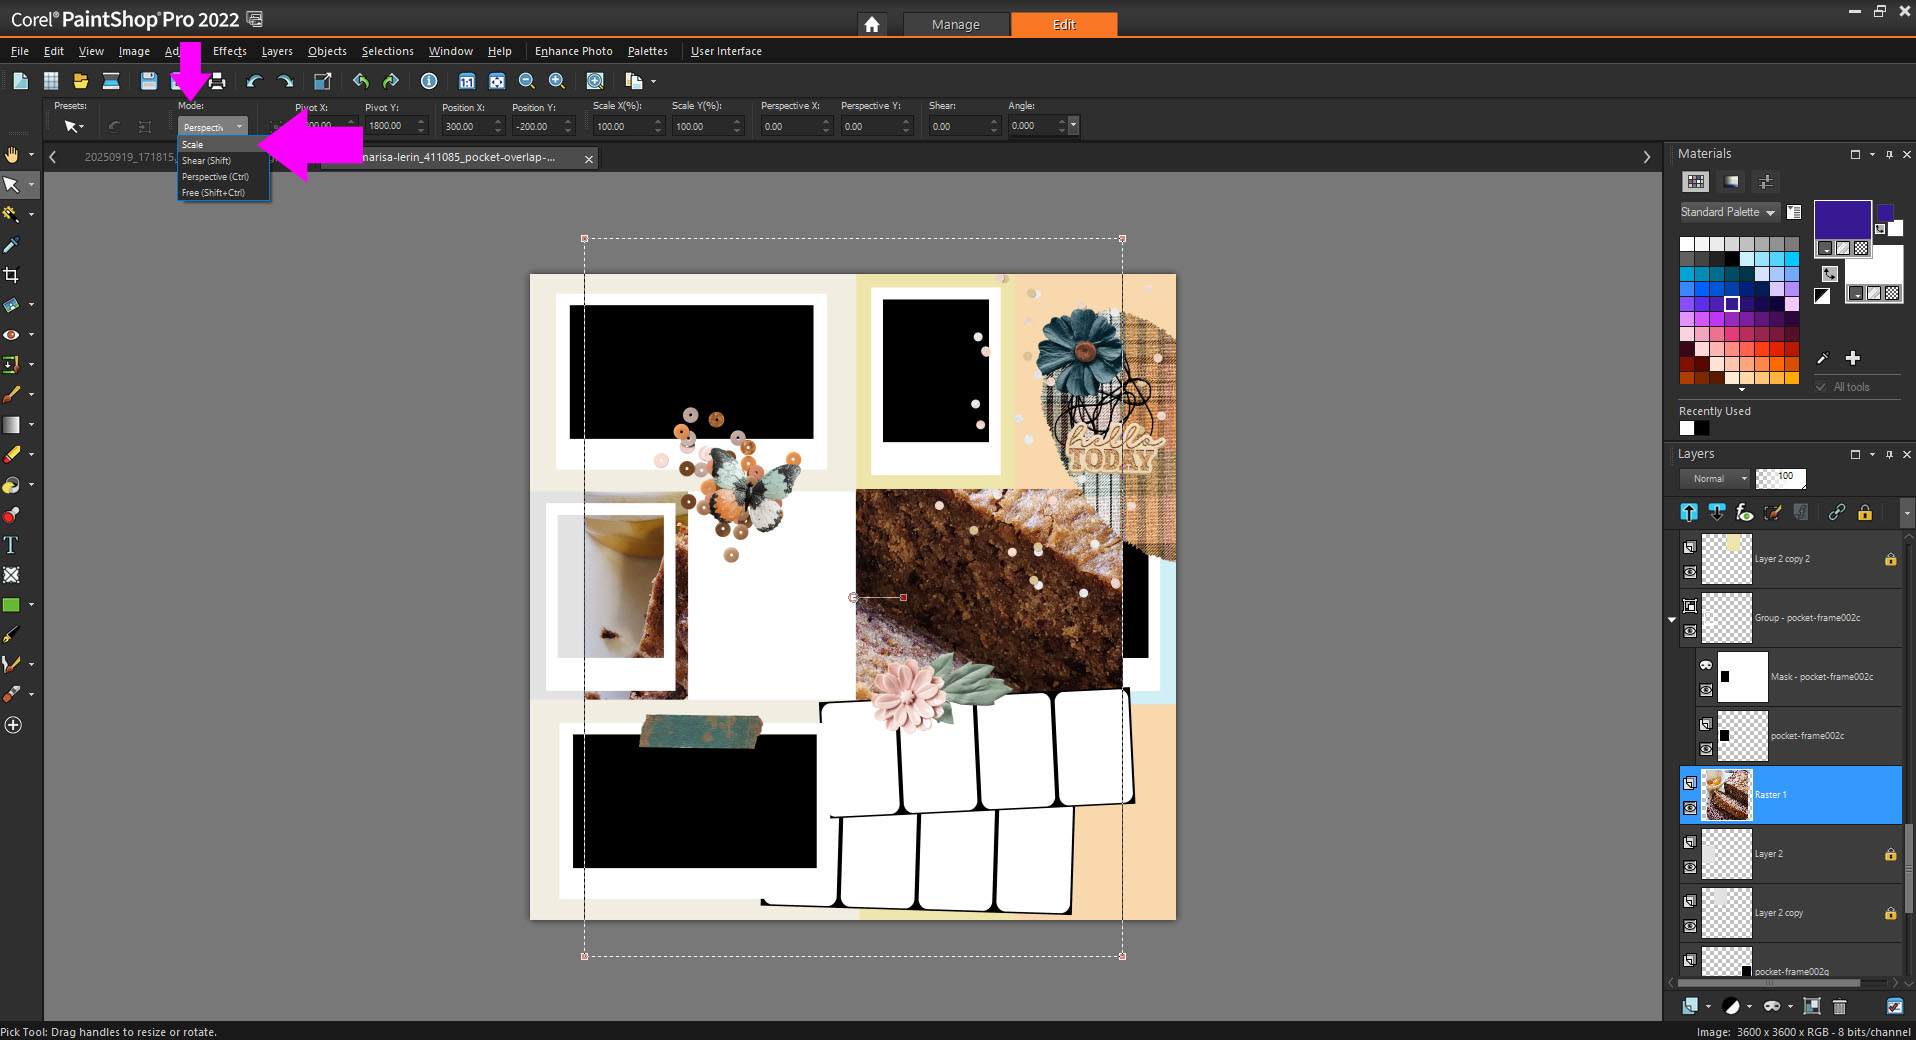
Then at the options which now show up at the top, select, Scale from the dropdown box.
Step #6
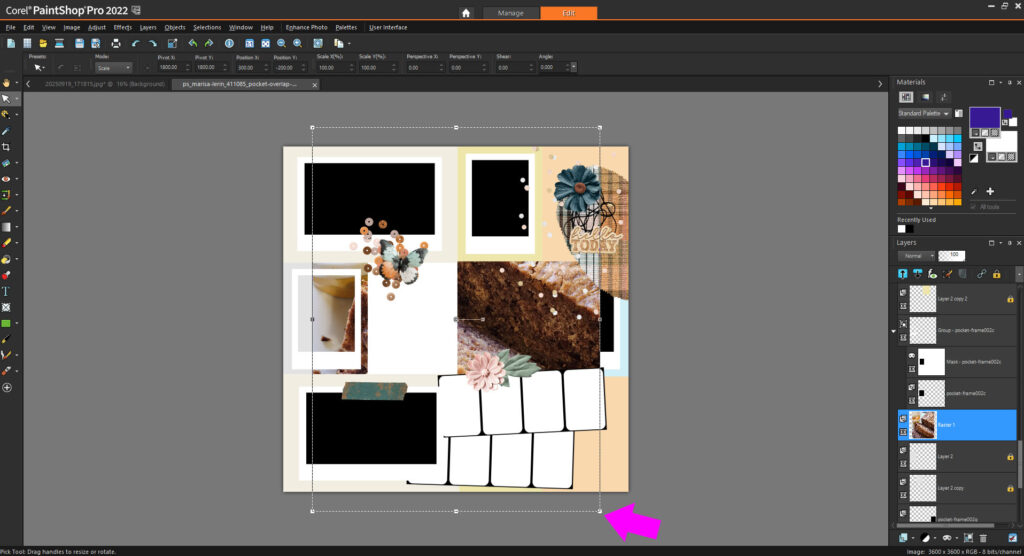
Now click on one of the corners of the photo. and drag it to an approximate size. You can repeat this step if you need to.
Step #7
After that I clicked in the center circle so I could drag it down into place behind the frame.
Final Result
Here is the final result of working around the Smart Objects. Hope it can be of use!